Flower gardening is a fun and rewarding hobby, especially if you know how to do it right. You can use beautiful flower garden ideas to create an amazing backyard oasis that will impress everyone who sees it. These beautiful flowers help you express yourself in ways you never thought possible. All it takes is a little creativity to show your personality through these amazing flower garden ideas. Here are some ideas that can help you start this amazing hobby.
1. Consider Large Garden Areas
Many flower garden ideas are perfect for smaller spaces, but consider planting something other than flowers if you have a large backyard area. If you’re looking for an easy way to create an impressive look that’s also functional, go with ornamental grasses or evergreen trees. These plants are great year-round and require very little maintenance over time.

Image credit: https://www.gardeningknowhow.com/
Choose two contrasting colors and one color family, such as purple or pink. You can then add perennial flowering plants in groups of three to five, and you’ll have an eye-catching flower. Make sure you carry out regular weeding because today’s weed might be tomorrow’s weed patch.
2. Create an Edible Flower Garden
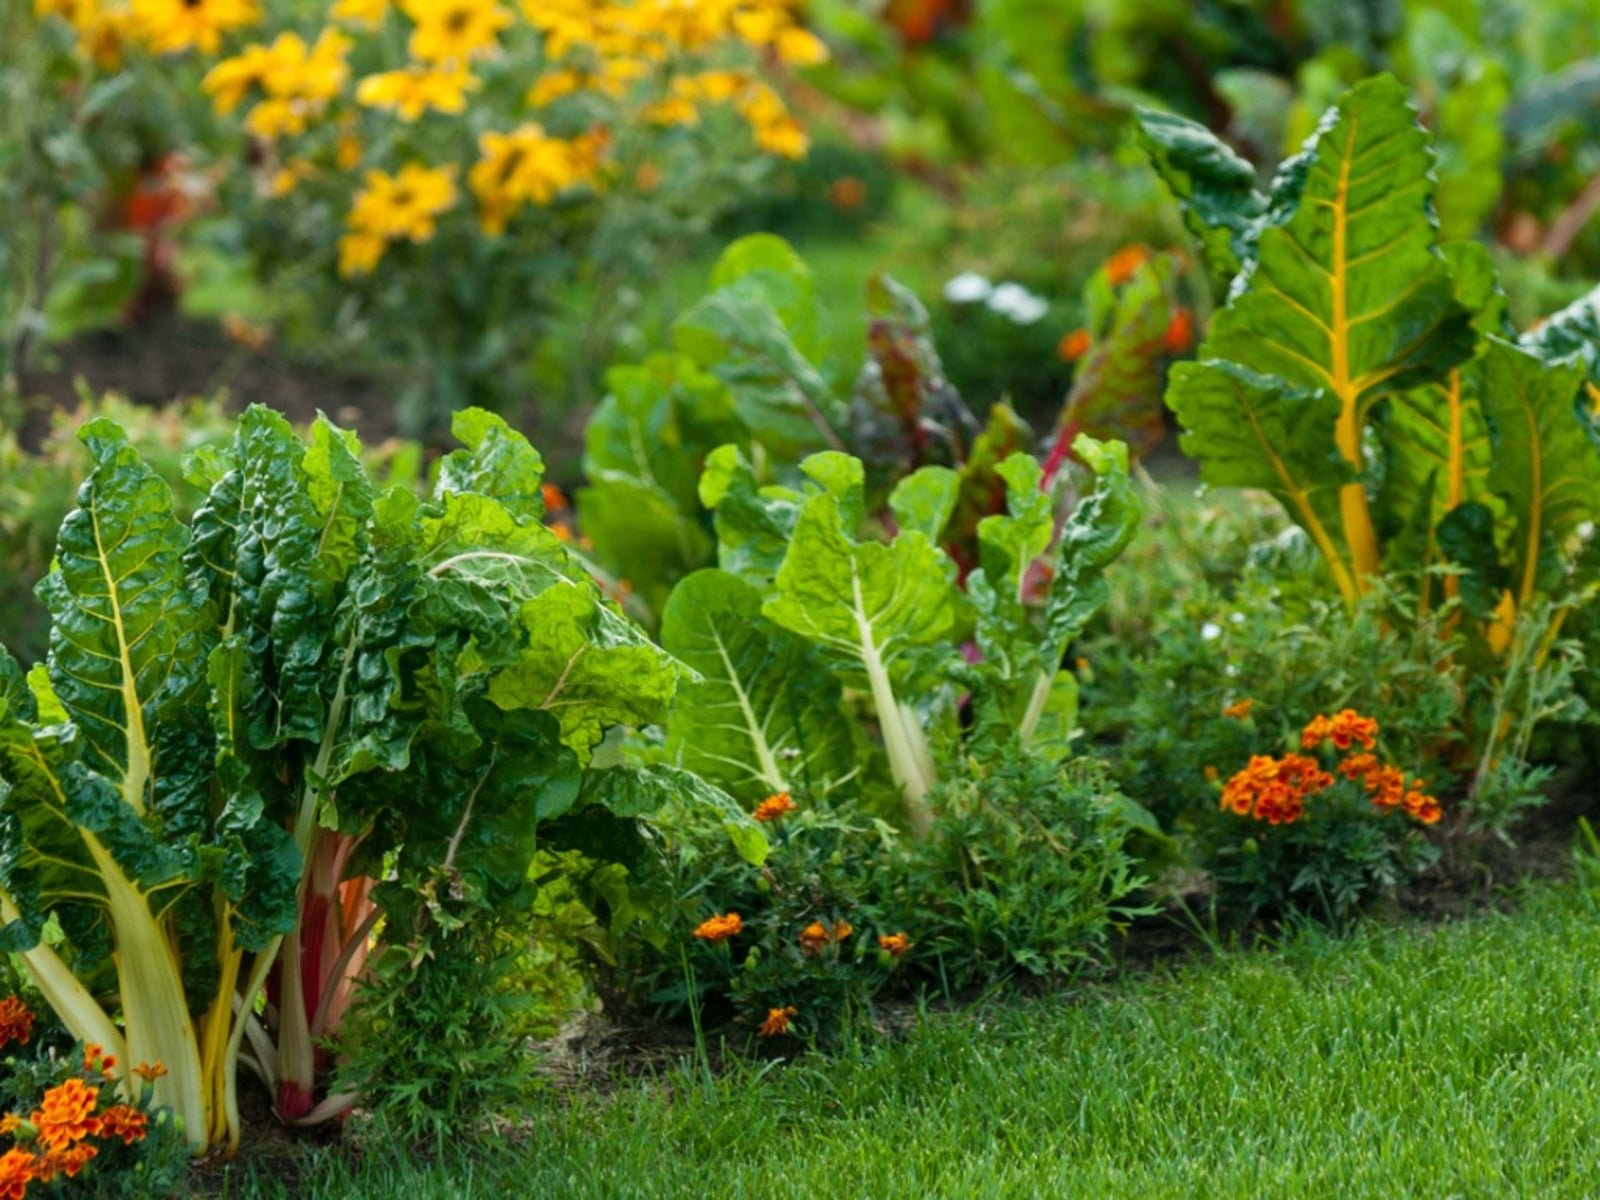
Image credit: https://www.gardeningknowhow.com/
If your goal is to create a garden as an outdoor kitchen, consider making a dedicated flower bed for herbs and vegetables. If possible, flower gardens should be beautiful and delicious. Vegetables will get a huge boost in productivity with the flowers available when pollinators are drawn to nectar-rich planting beds.
Edible plants such as tomato, squash, and cucumber will blossom in such flower garden beds. In addition, the beneficial insects that rely on floral nectaries will help control vegetable pests, thus, reducing the use of pesticides. You can get ideas on types of squash to grow here so you know which one can work for your flower garden.
3. Plant Flowering Plants on Trellis
Trellises and topiary create focal points in the garden, especially when consistent color and style. When creating an edible flower garden, place trellises along walkways and at the edges of beds to lead visitors through the garden and to help keep plants upright as they grow. Make sure you define borders against which to plant flowers of varying heights.
They provide support for climbing vines such as morning glory, cucumber, and sweet potato, and vertical growing flowers such as clematis. Trellises also provide structure for flowering vines that may not need support, like the passion vine. You may also trellis-filling vine in one season from seed with morning glory and moon vine.
The passion vine can climb up an arbor or trellis to create a lush canopy of green leaves. Passion flower blooms are attractive to bees, which adds to the benefit of an edible garden. Gloxinias, petunias, and their foliage can also bring beauty to your trellis.
4. Combination of Bogs and Rain Gardens
Brighten that soggy spot in your backyard with a rain garden or bog garden. And when planning a bog garden, consider plants that love both full sun and wet soil. Flowering plants that thrive in bog gardens include candelabra primrose, cardinal flower, and yellow iris and leopard plants.
You can also introduce fun and funky in your wet by including carnivorous pitcher plants. Make sure your garden rain never dries out. A natural bog garden will be replenished by rainfall, but a dry spell hits; ensure you help it out with a hose.
If you see frogs, salamanders and turtles, know that a bog environment is present, so use it to plant some rain garden plants. If you don’t have a natural depression that collects water, create your own by sinking a plastic kiddie into the ground. You can use pond liner to create a bog garden as long as you disguise the edges with rocks and fill the bottom with peat moss and sand.
5. Consider Flower Garden Paths
When you think of your garden, do you see only the flowers that need to be planted? A flower garden is perfect for an area where you can walk through and view the various blooms. If your current yard doesn’t have one existing place, design a path with bricks or stones, so everyone has easy access.
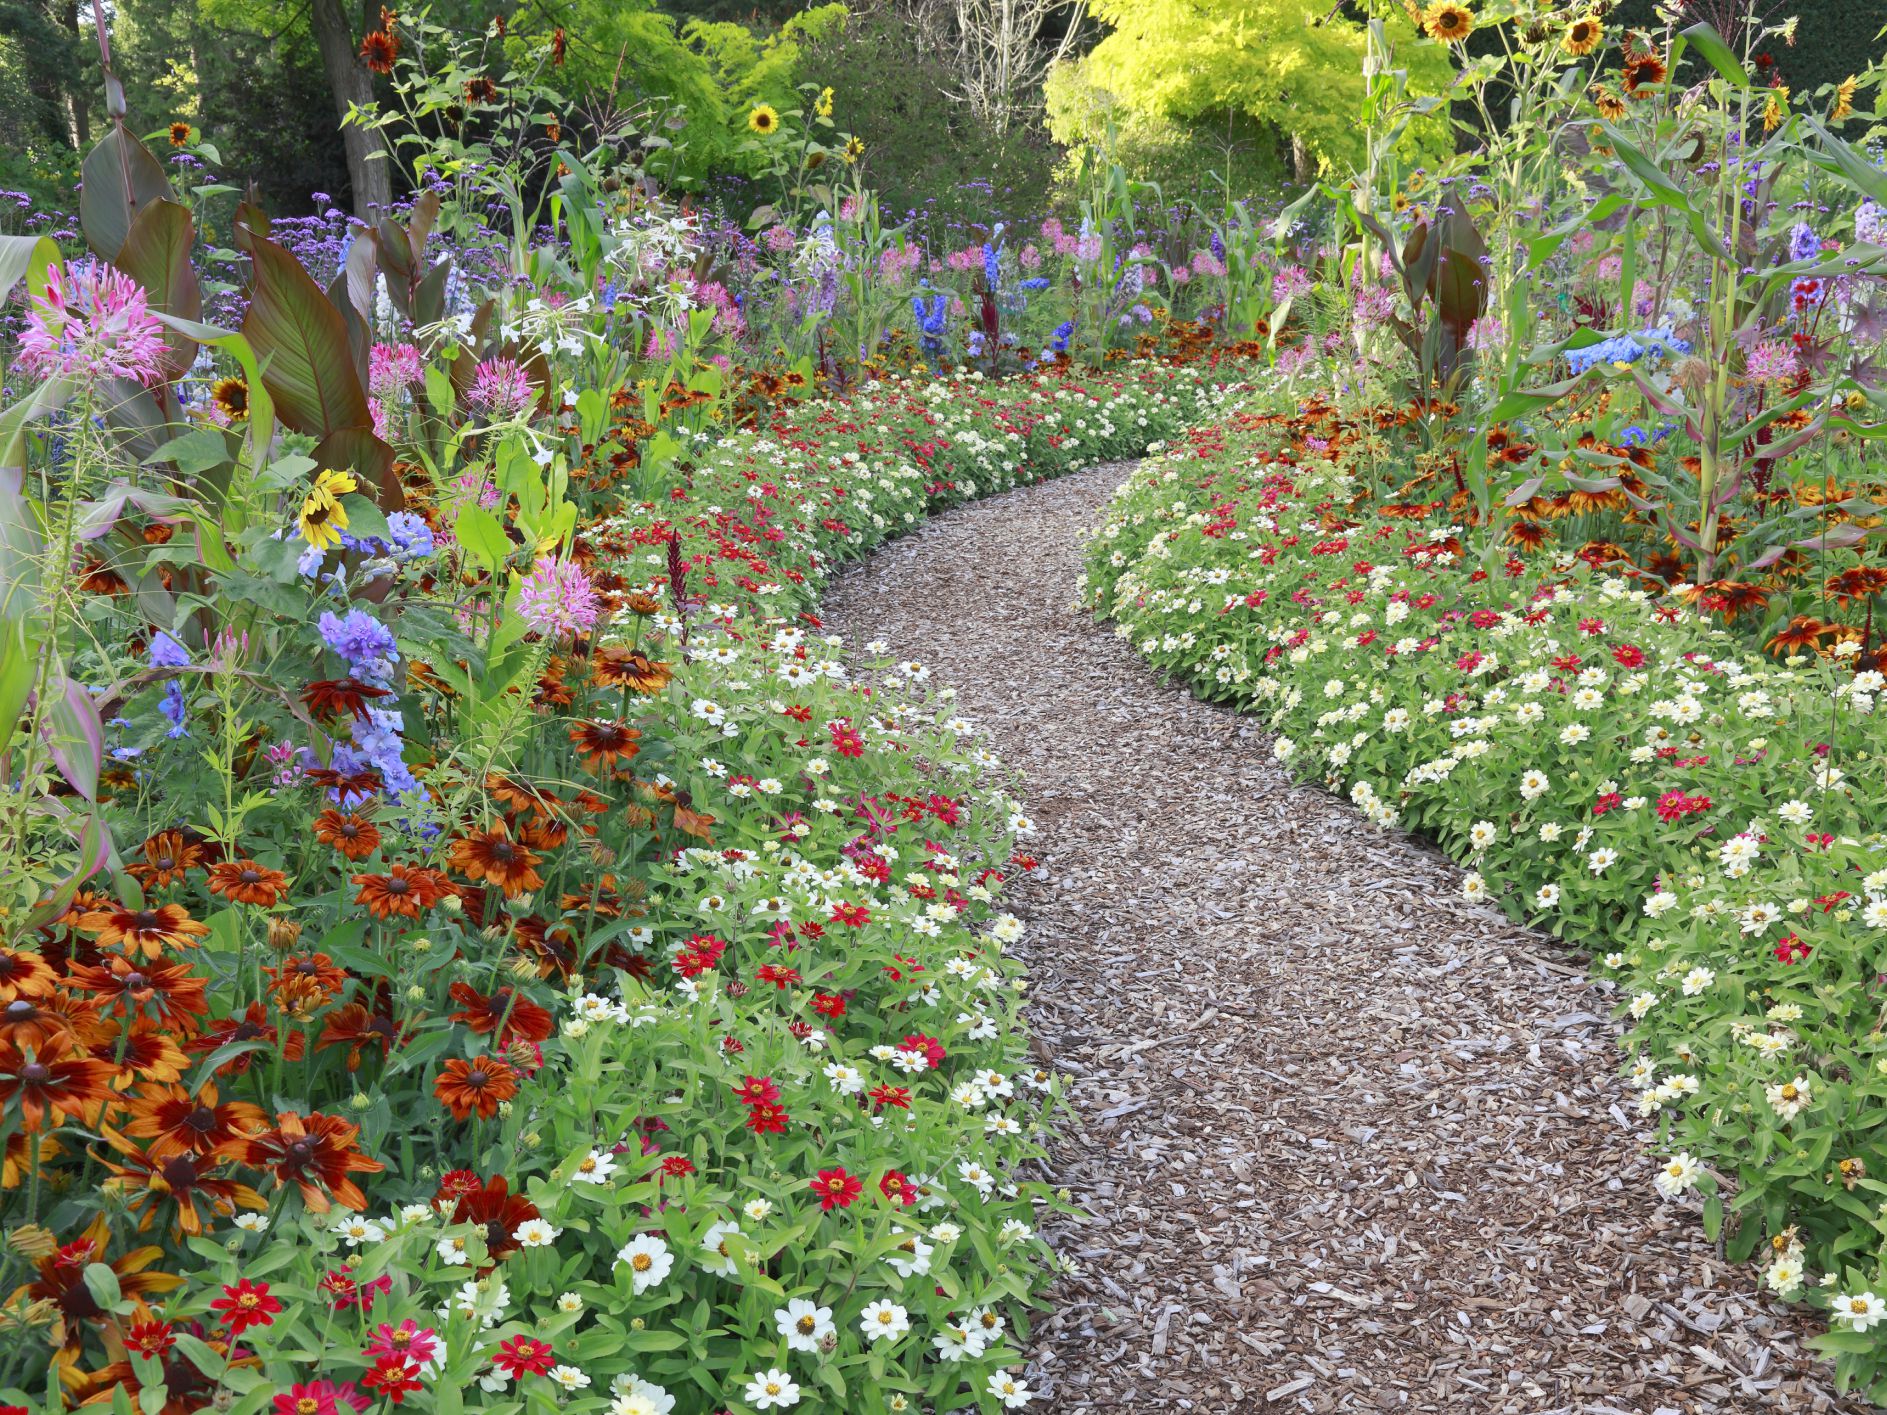
Image credit: https://www.thespruce.com/
But keep in mind that you’ll need to choose flowers that can handle foot traffic. A flower garden path should comfortably accommodate a wheelbarrow and a cart with room to turn around. Make sure you mulch your plant beds as much as possible to keep them flourishing.
6. Butterfly Flower Garden Ideas
The butterfly garden works especially well near a porch or patio area. Butterflies love water, so add a small pond, and you’ll be treated to the sight of not only butterflies but frogs and lizards as well. However, some beautiful flowers may fall flat when it comes to attracting butterflies.
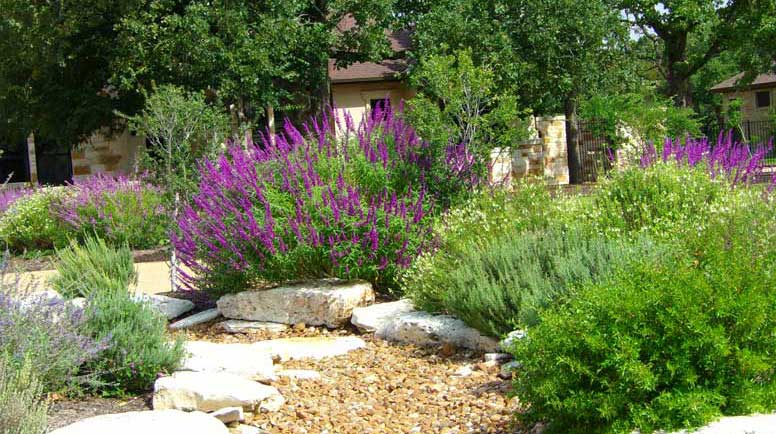
Image credit: https://www.loveyourlandscape.org/
Some butterflies are designed to extract nectar from particular flower shapes, meaning that some blooms sound like the dinner bell while others miss the mark. Even though butterflies love bright colors, it’s important to include flowers with rich nectar stores easily accessible in shallow flowers.
Butterflies and other pollinators will stay in your garden throughout summer as long as you include seasonal blooms in your garden. This is because their food sources are usually most plentiful when the weather is hottest, and most plants bloom during springtime or summer.
Butterflies will truly thrive with a combination of butterfly-friendly flowers, annuals, and perennials, which they can land on for rest periods between nectar-feeding sessions.
7. Combining Tulips with Annuals and Perennials
Create a harmonious arrangement with this amazing flower garden idea. Extend your garden blooms with tulips, annuals, and perennials that will come back each year with less maintenance. Make sure you space out your flowers so that tulips stand taller than your shorter, low-growing annuals and perennials.
When winters are cold, your tulips will return for several years but won’t survive when grown in warmer, moist climates. A flower garden bed with a blend of red and yellow tulips will make the whole bed look amazing.
Create that festive effect in a mixed flower bed by planting clear, primary tulips. Daylily, catnap, salvia, and bells of Ireland are some of the great tulip companions, and once you should reconsider when recreating a gorgeous full flower garden bed.
8. Pallet Flower Garden Ideas
Flowers that provide color with the way you want the artwork to appear are a good start for any design. For example, mixed white and yellow flowers will provide interest for your garden whether you want a spring or summer look. The tulips will be particularly appealing in beds where most flowers are filled with one particular shade.
If you have a lot of flowers of the same style, plants with distinctive features will draw attention. Choose something really small tulip for this circumstance. Chives will certainly give you an option to create a variety of patterns by simply including or eliminating plants from your flower bed.
9. Recycled Rubber Tires Flower Garden Ideas
You can never go wrong with turning your old tires into a garden ornament. Rubber tires are tough and long-lasting, making them fantastic materials for your yard or business’s landscape design. This reclaimed rubber tire flower garden idea is a great way to recycle old tires while beautifying the area at the same moment.
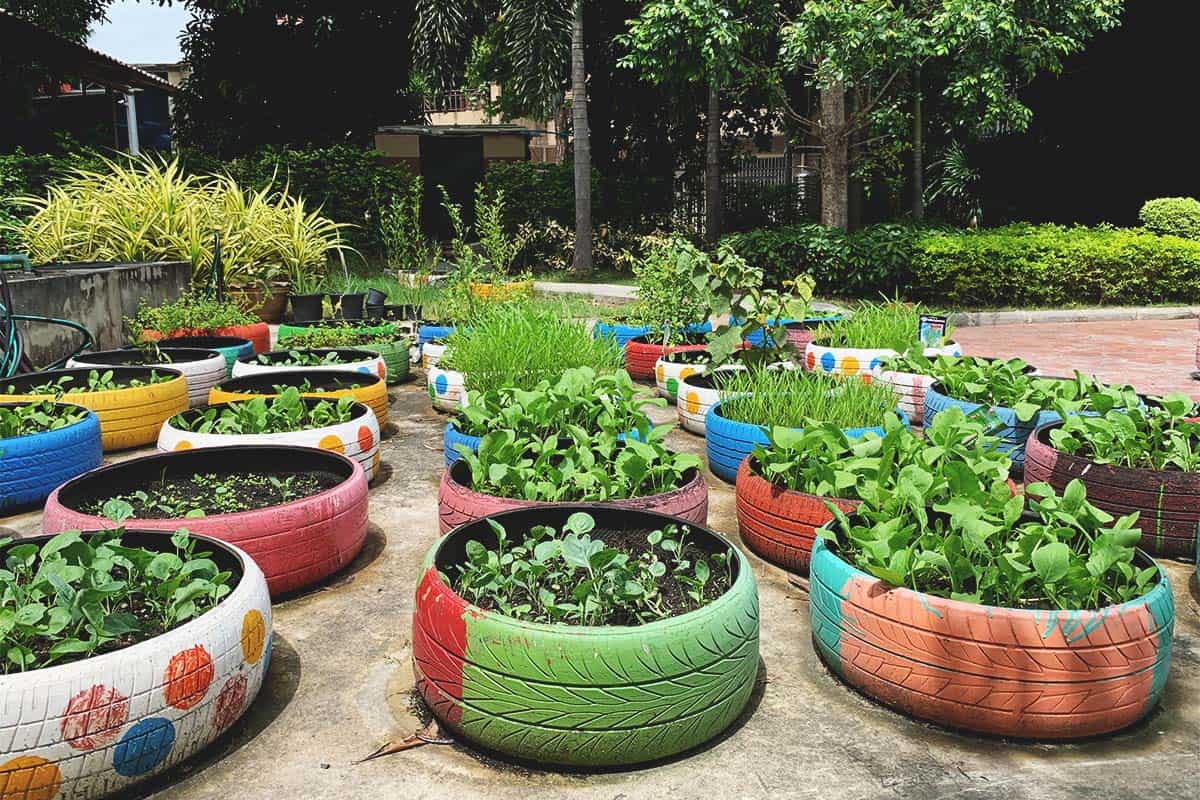
Image credit: https://morningchores.com/
If you have an old bike lying around, make use of its tire as well. If you have some scrap tires lying around, turn them into a flower garden. This will not only make your lawn look good but will also help you avoid worrying about tires taking your space or disposing of them.
10. Potted Flower Garden Ideas
There’s nothing more pleasant than a stunning potted flower garden in the backyard. So take your time and plan it well so you can enjoy it for many years to come. When it comes to convenience, nothing beats flowers planted in clay pots and half buried in a bed of gravel.
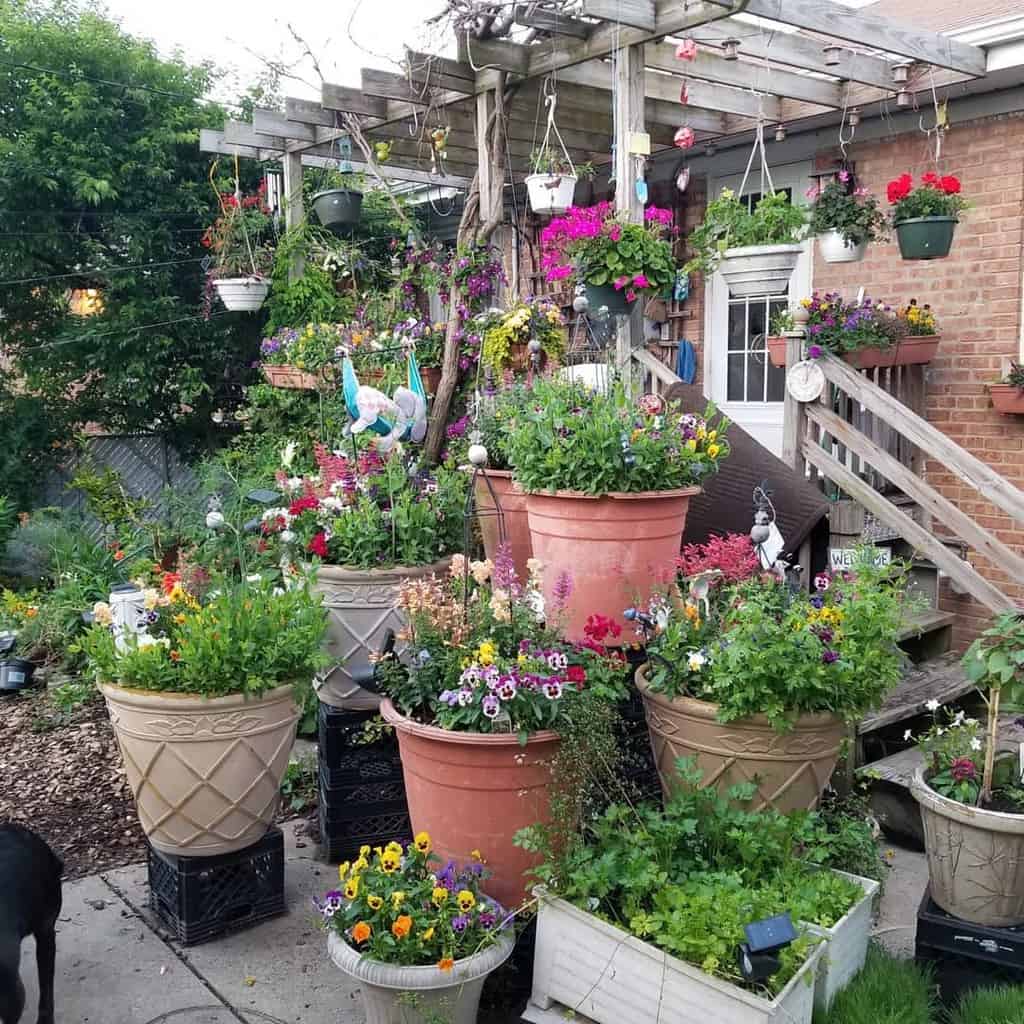
Image credit: https://nextluxury.com/
It doesn’t have to be complicated – using a simple pot will also do the trick. You can also bring in some hanging baskets if you have a nice outdoor space for them. To achieve a harmonious and colorful look, choose a different flower for each pot. Round your flower bed with pots.
A circle of purple, white, red, and white striped Bizzy lizzies spread out from the pine ringed by stonecrop, moss, and pots of pink and white Bizzy lizzies. And if you want to enjoy the view from your home or balcony, consider adding some cascading plants, vines, or grasses, which will make it look like an entry from fairy tales. Add in some wooden trellis and little lights too to complete the look.
11. Formal Flower Garden Ideas
Of course, the clean lines and tidy layout of a formal garden will provide a respite from the stresses of modernity. Adding some flowers on top of that grass and well-cut boxwood shrubs will be the finishing touch to the garden’s look. You can stick one or two flower varieties in the formal garden.
Lavender, roses, tulips, hydrangeas, and salvia are a few things that you can use in your formal garden. You can mass the flowers around a central fountain, use them to edge paths, and fill in geometric hedge plantings with blooms.
12. Flowering Cottage Flower Garden Ideas
You can turn your cottage garden into plant beds with the help of perennials, ornamental grasses, and flowering shrubs. Roses, lavender, cosmos flowers, lilies, snapdragons, and hydrangeas are among some of the plants that you might use to make up your cottage flower garden.
Grasses like colorful ornamental rye can be used as a ground cover to fill in spaces between other flowering plants. Perennials like bleeding heart, lupines, black-eyed Susan, and daylilies are among the many types of flowering perennials that you could use for your cottage garden.
FAQs about Beautiful Flower Garden Ideas
How do you lay out a flower bed plant?
Arrange border plants with plants taller than 2 to 3 feet tall, then place them in the back with the mild-size plants from 10 inches to 2 to 3 feet tall in the middle. After that, layout shorter plants in the front of the bed. It’s also best to use groupings and drifts of plants for a natural feel.
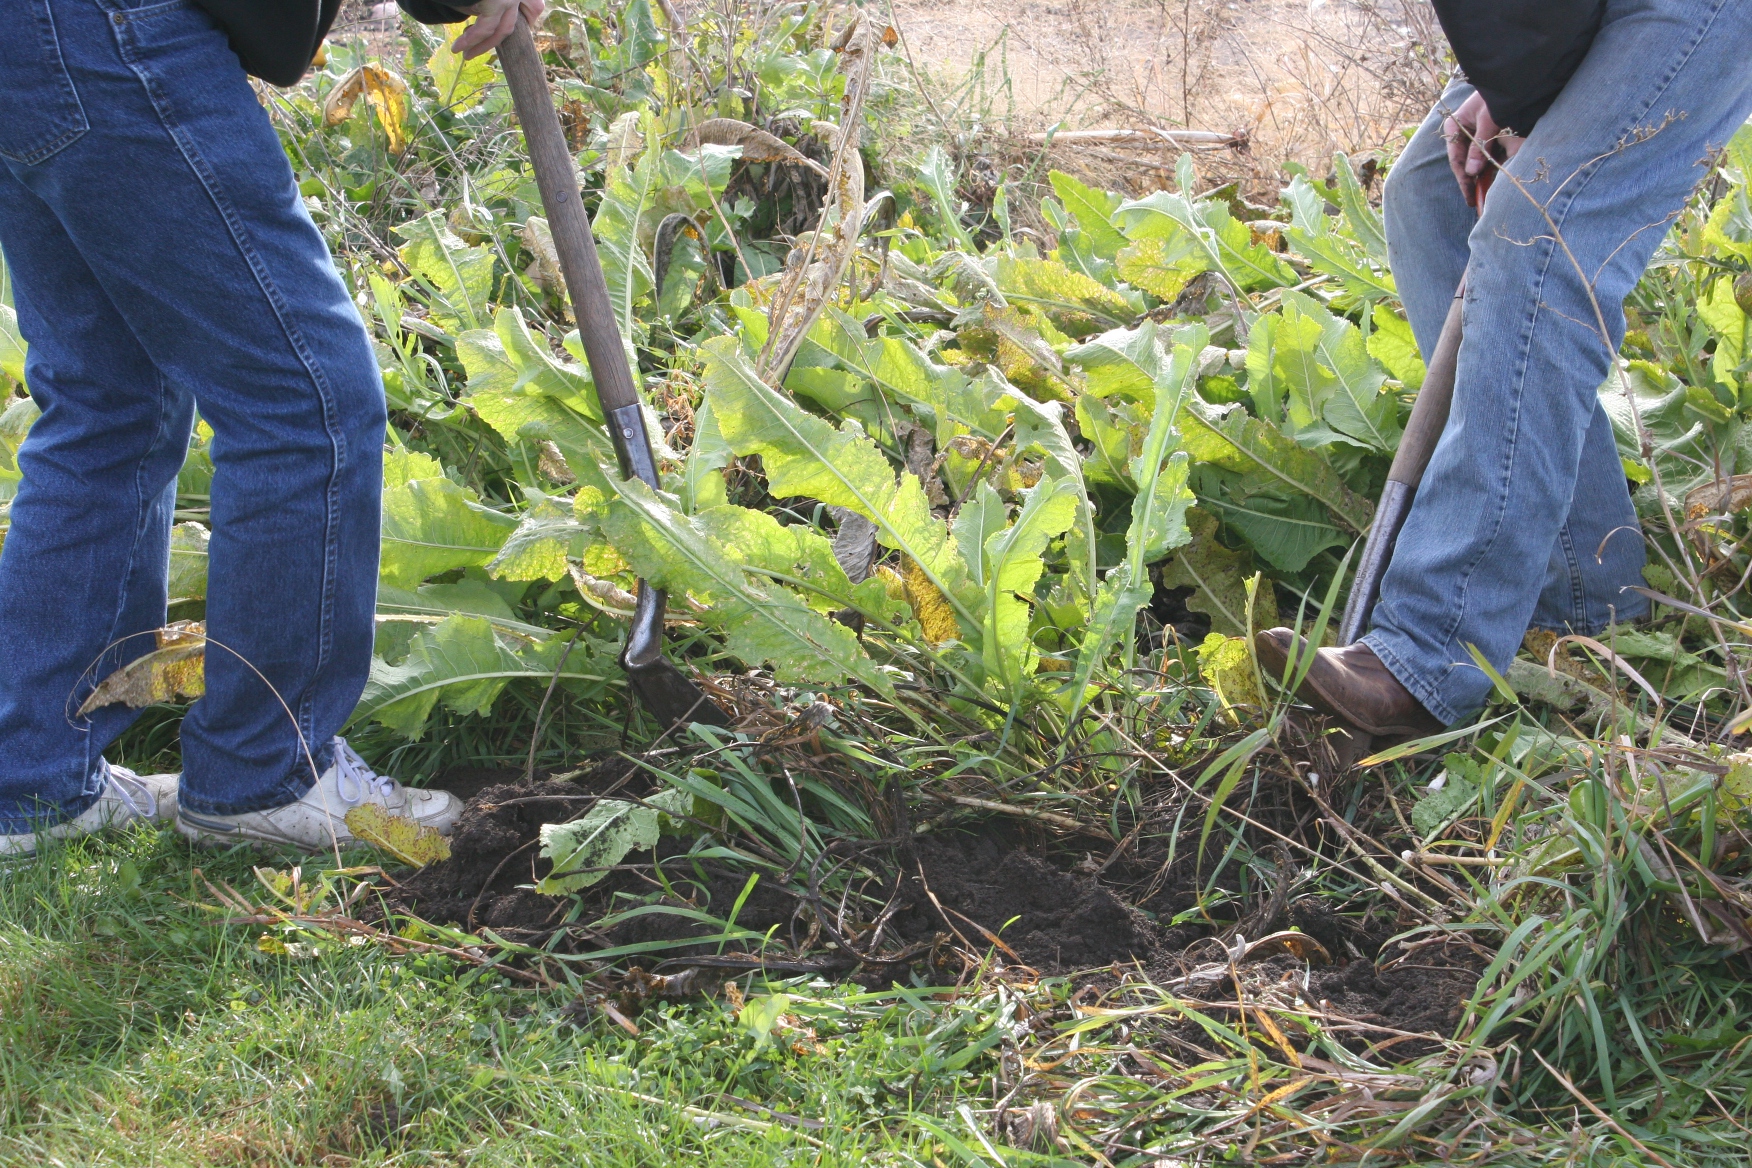
How do you plant a flower garden for a beginner?
First, make sure you remove the weeds and amend the soil. If it’s a new bed, put down a layer of landscape fabric to block weeds and top with six inches or more garden soil and topsoil. If your area doesn’t receive much sun, you can consider growing shade-loving flowers as they blossom in such areas.
Final Thought on Beautiful Flower Garden Ideas
Build your corner of paradise by adding different types of flowers in your backyard. You can enjoy your backyard for gardening, spending time with your loved ones, or just relaxing.
The post 12 Gorgeous Flower Garden Ideas To Add To Your Home appeared first on Kitchen Infinity.
Did you miss our previous article…
https://www.thelavkitchen.com/?p=439


/GettyImages-183771871-dd1b7eb9d6d74b61a7c57dcb61e280fc.jpg)