Birds are essential to the natural ecosystem, but they need food and water. They’re also a great addition to any garden, as they help in pollination and seed dispersal. However, it can be hard to attract specific birds to your farm if you don’t know their dietary needs.
There’s no need for you to worry anymore. Safflower seeds have everything that birds need. Often confused with sunflower seed, safflower is more unique and is a rarer type of bird food offered at bird feeders.
Thanks to their great nutrition, they’re a useful and uncommon type of bird seed that birds eat, making them popular among backyard birders. If you want to ensure that your garden is filled with beautiful songbirds every season of the year, why not try using safflower seeds?
What is Safflower Seed?
Safflower seed is the seed of the annual safflower plant known as Carthamus tinctorius. This herbaceous annual is in the same family as sunflowers and thistles—safflower seed blooms in red, orange, and yellow with some scruffy foliage.

Image credit: https://www.thespruce.com/
Safflower seeds prefer arid climates with seasonal rainfall, and the safflower crops are mostly grown for the oil of the seeds and the dyes of the plant. With its growing cultivation, backyard birders are discovering the value and usefulness of this seed.
These seeds are slightly smaller than sunflower seeds as birdseed, but they’re similar in their tapered shape. It has white seeds and is high in protein, fat, and fiber. These nutritional properties make safflower seed a great addition to any bird feeding station.
Birds that Eat Safflower Seeds
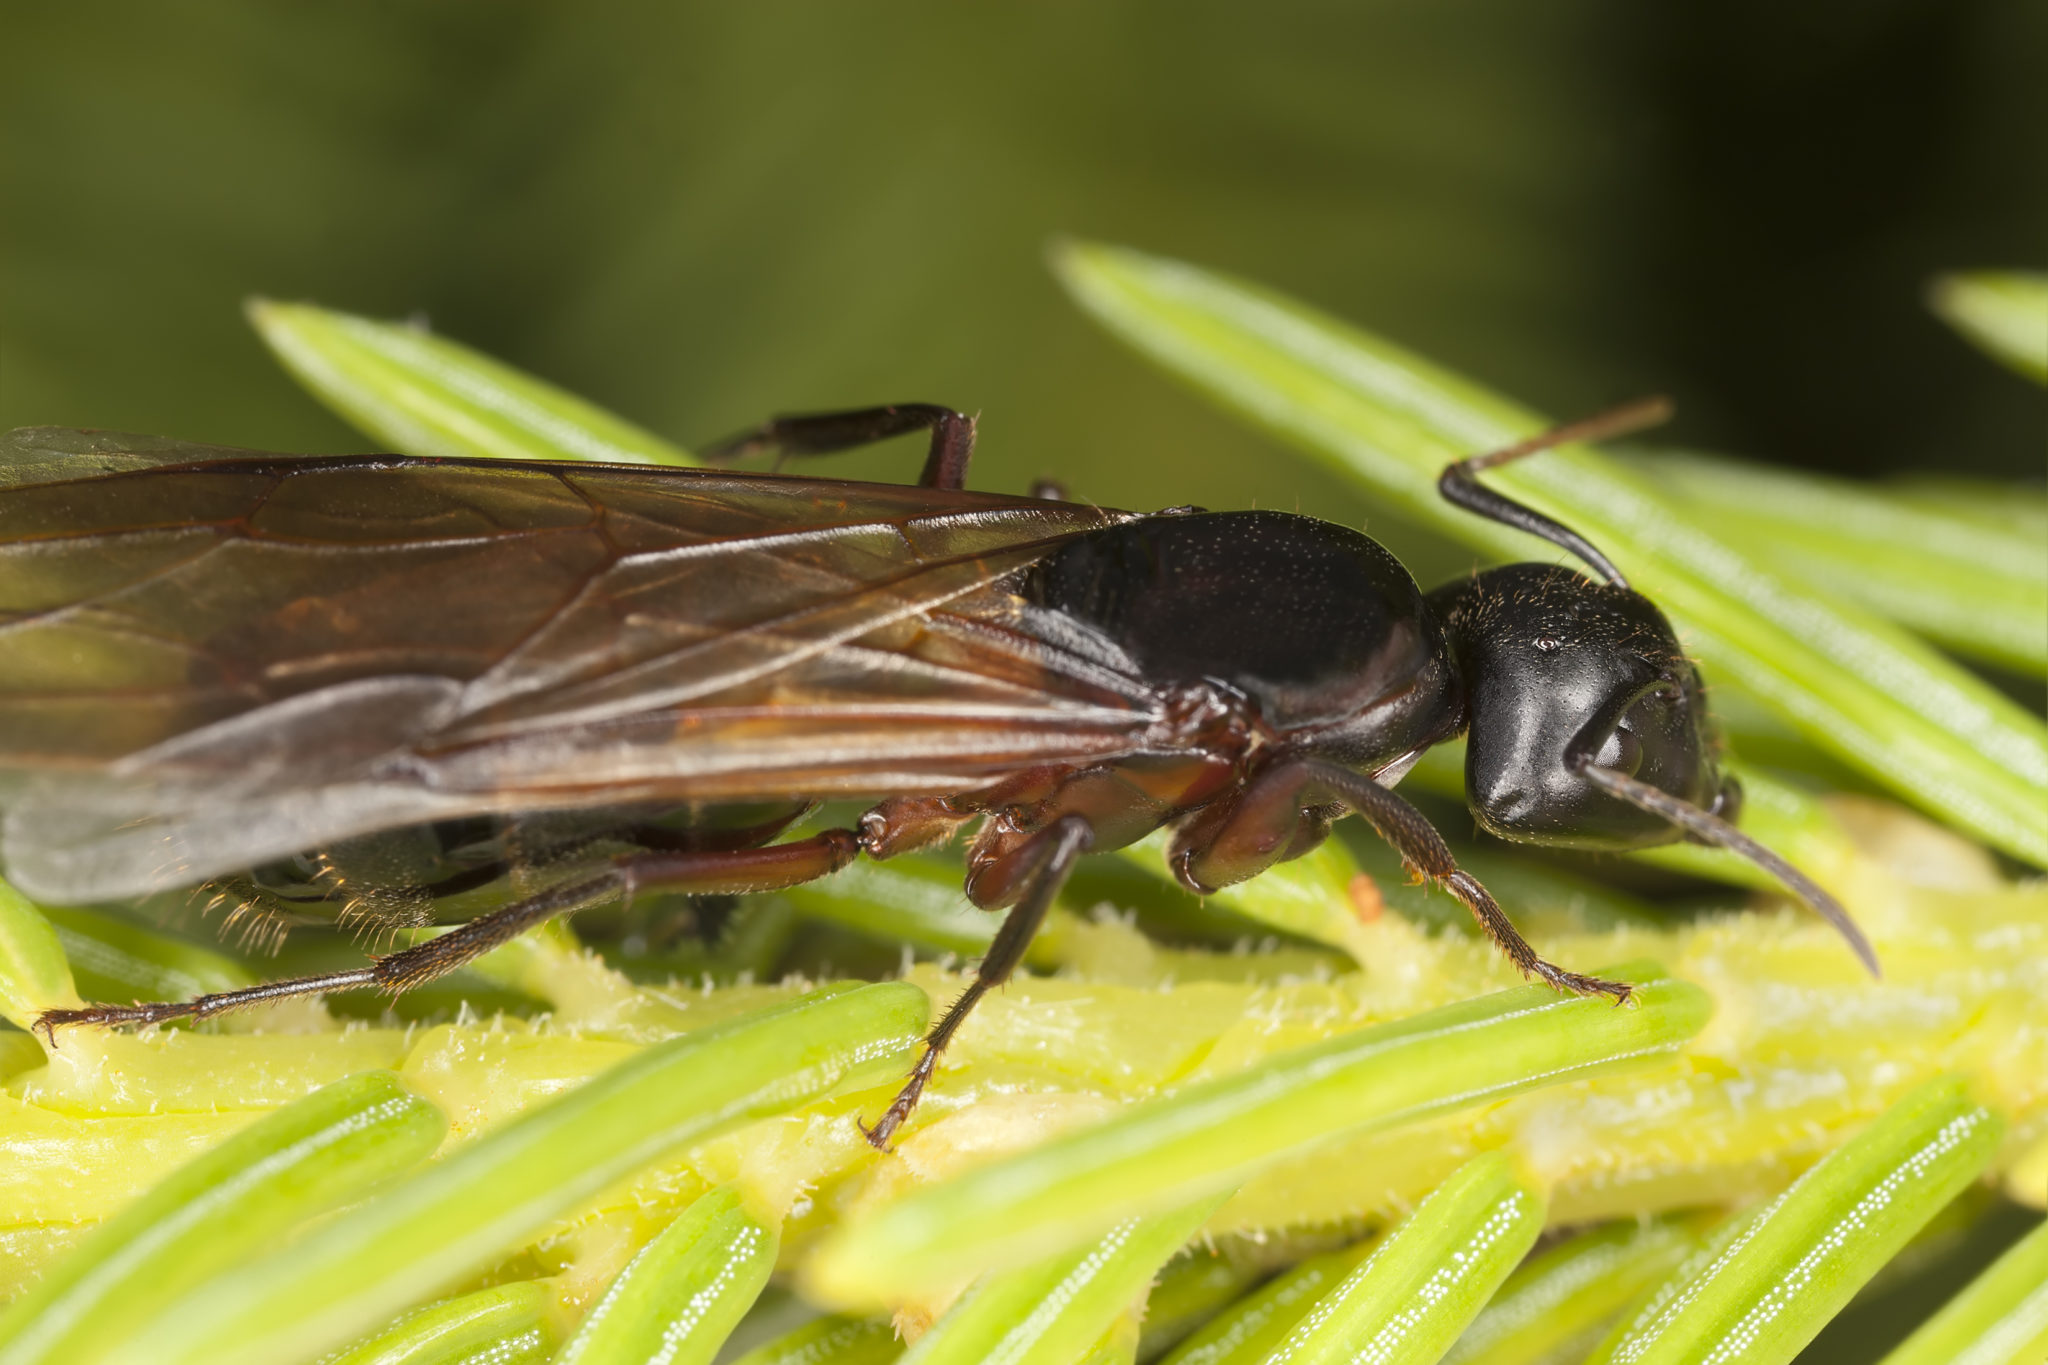
Many of the smaller-eating birds feed on safflower. Also, birds with stronger bills familiar with black oil sunflower seed will happily eat safflower seed. They include:
Blue jaysDowny woodpeckersIndigo buntingsNorthern cardinalsCarolina chickadeesMourning dovesBlack-headed grosbeaksHouse finchesEvening grosbeaksPurple finchesBlack-capped chickadees
Some birds may break open the hulls immediately to enjoy the seed meat, while others may cache safflower seeds. Safflower seeds have a bitter taste and different shape than any other birdseed. Birds such as grackles, European starlings, and blackbirds will not eat safflower seed.
This bitter flavor makes them an ideal addition to feeding stations where the bully birds might dominate. It discourages these birds from emptying the tray feeders. Many squirrels will also leave these bird feeders alone. Baffles and other squirrel-proof bird feeders are still wise precautions as fast-footed squirrels may leap onto the tray feeder and scarf down the safflower seed.
How to Feed Safflower Seeds
It can be challenging to offer safflower seeds to backyard birds. At first, the bird may be hesitant to take the seeds, especially if sunflowers are available. Alternatively, you can offer safflower seeds in the larger hopper, tube, and platform feeders. Tossing seed on the ground near shrubby, sheltered areas is also a good way to provide it to the ground feeding birds such as doves and quail.
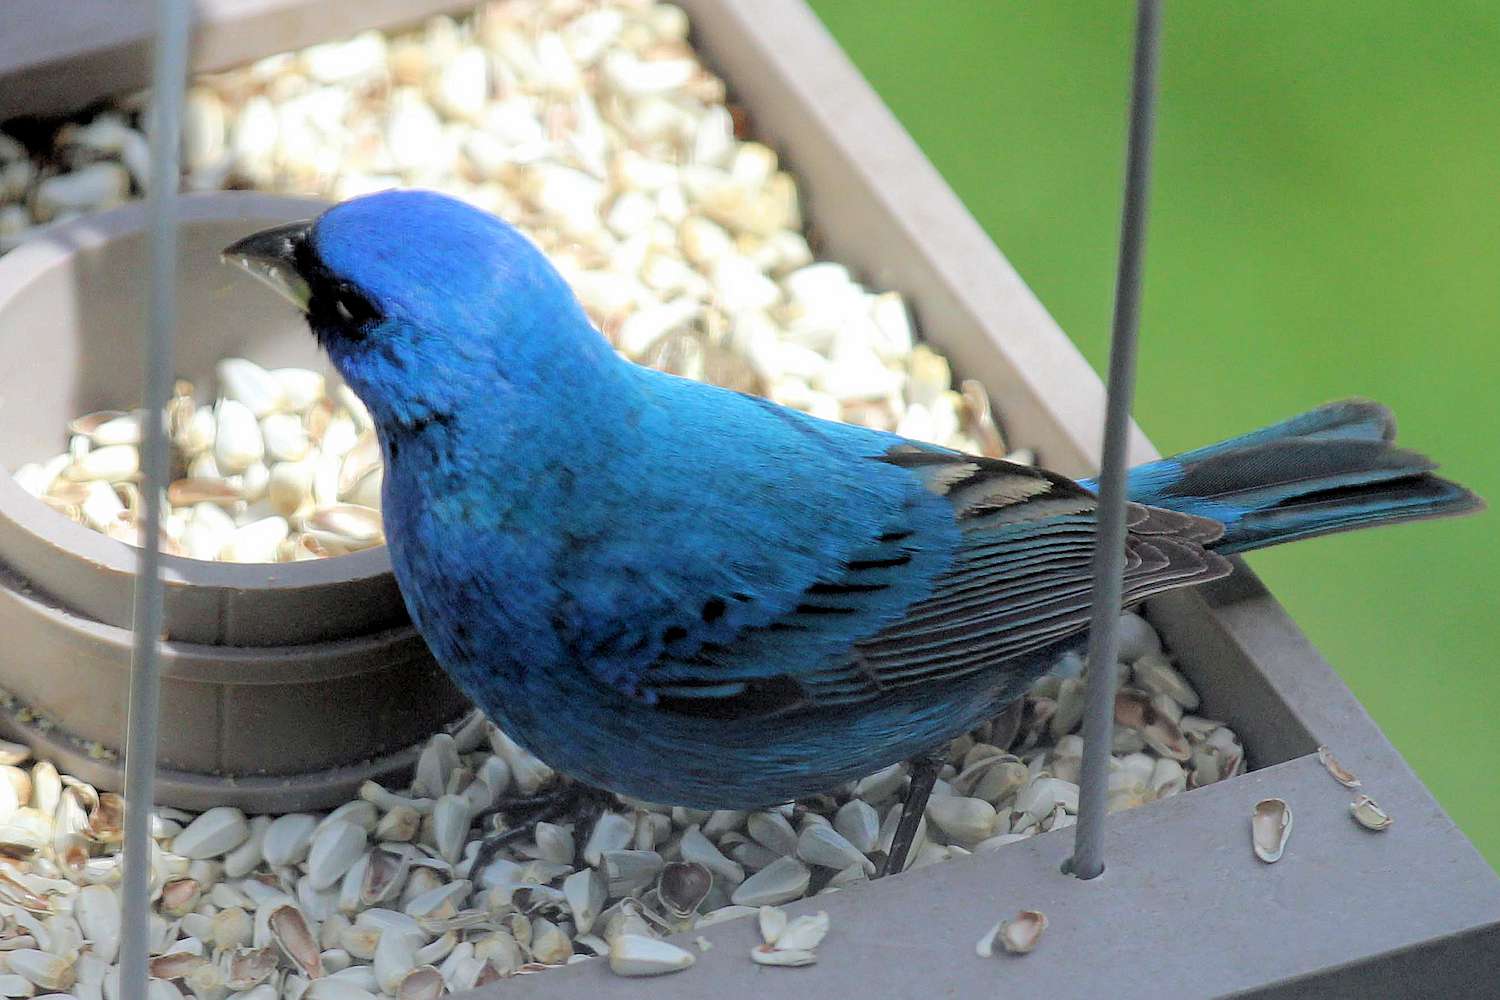
Image credit: https://www.thespruce.com/
Mixing two seeds is also a good way to offer safflower, such as mixing it with black oil sunflower and gradually increasing the ratio of safflower to sunflower seeds. This way, some birds will not notice that they are receiving a new type of seed.
How to Introduce a New Feeder to Backyard Birds
As with most other bird seed types, there are many ways you can offer safflower to birds. These include a finch feeder, squirrel-proof bird feeders, or other hanging tube feeders. Since safflower comes in a clear shell, birds can see the seed from above, which will entice them to take it from the feeder.
When purchasing safflower seeds, purchase a larger amount of seed than what you usually give to the birds, as they will take some time to get used to it. Introducing safflower gradually is the key to success.
Where to Purchase Seeds
Safflower is available in most garden centers, but it is also available online. These seeds are not often available in the bird feeding sections in grocery stores and large retailers, but you can also get them in pet and wild bird stores.
How to Plant the Perfect Birdseed Garden
It’s possible to grow safflowers as part of a birdseed garden and allow these seed-bearing flowers to go to seed before harvesting them. Plant safflower seeds in sunny, well-drained areas and use minimal water since they perform best in arid climates and dry conditions. These are great alternatives to backyard feeders, especially if bully birds often overrun your feeders.
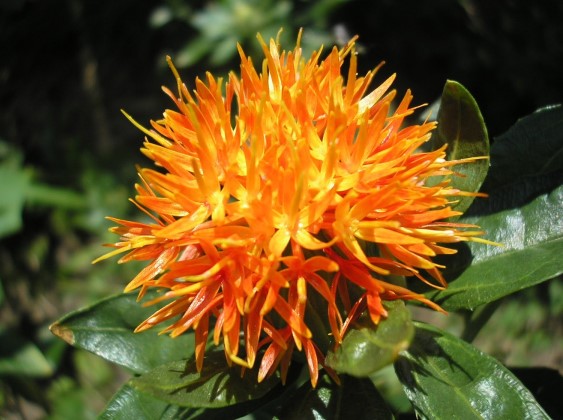
Image credit: https://www.asiafarming.com/
How to Store Safflower Seeds
Safflower seeds can be stored for up to five years if kept in a cool, dry place. The best storage container is one that’s airtight and able to keep moisture out. Airtight bags or jars work well for this, as does an old coffee can with a sealed lid. Safflower seeds also freeze well, so you can double bag the seeds and keep them in your freezer for later.
dvantages of Offering Safflower Seeds at Your Bird Feeder
They offer a good level of fat and protein These seed types are relatively cheap and are sold cheaply in bulkYou can easily grow them in your gardenThey’re ideal to use when you want to eliminate those bully birds from your gardenIt can be bought in several ways, including the entire safflower seed bags, in a bird’s seed mix bag, and a safflower seed cylinder
Disadvantages of Safflower Seeds
They can leave behind some when the white shells are crackedNot all birds will appreciate these seeds, so you may need to offer other seed types besides safflower seeds
FAQs on Safflower Seeds
What is the importance of safflower seed?
Safflower seed oil can be used to prevent heart diseases, including hardening of arteries and stroke. It can treat various conditions such as fever, tumor, cough, breathing problems, chest pain, and traumatic injuries.
Final Thought on Safflower Seeds
As nutritional as these seeds are, it is important that you shop for the best safflower seeds. And the more you understand this seed, the more easily you’ll help your birds adapt to new food while minimizing the seed lost to over-aggressive species and feeder pests. While you feed the precious birds with safflower seeds, also remember to learn how to care for the baby birds so they can grow healthy and happy.
The post What Are Safflower Seeds? appeared first on Kitchen Infinity.
Did you miss our previous article…
https://www.thelavkitchen.com/?p=403


:max_bytes(150000):strip_icc()/cleaning-gas-burners-1900625_05-d1a51f015ed84764b127fc8cfd7ff128.jpg)


/GettyImages-183771871-dd1b7eb9d6d74b61a7c57dcb61e280fc.jpg)


/godetia-plant-profile-4800077_03-0851a9a0fa004a18a5328540b257a908.jpg)