Are you looking for flooring material that can be used in the living room, kitchen, and bathroom? Ceramic tile is a great flooring material, but it comes with some advantages and disadvantages that you should consider before installing them in your home.
Also, deciding whether ceramic tiles are best for your new floors depends on your style preference and budget. Let’s have a comprehensive review of ceramic tiles to see if they can be a great option for your home.
What is Ceramic Tile Flooring?
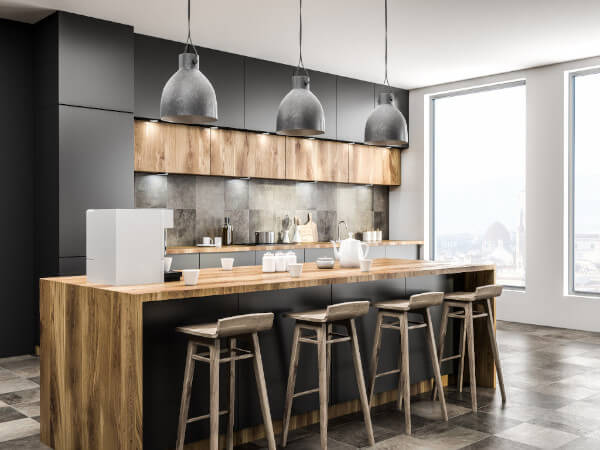
Ceramic tile flooring is a type of hard tile made from clay. It is then kiln fired, making it a durable and long-lasting material. Ceramic tiles are available in a variety of colors, sizes, and shapes. They can be used in both residential and commercial spaces.
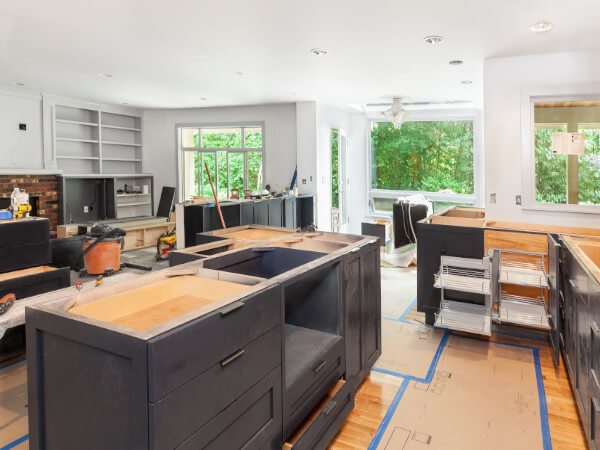
Image credit: https://www.westsidetile.com/
Ceramic tile is also known as porcelain tile or non-porcelain tile. Porcelain tiles are more durable and dense than non-porcelain tiles. Ceramic tiles come in many varieties depending on the production process. Natural stone tiles are a well-known type of tile flooring, while other types of quarried stone include granite, marble, and slate.
Each of these tile flooring types has its specific characteristics and appearance. Natural stone tiles are more expensive than ceramic tiles.
Pros of Ceramic Tile Floors
Ceramic tiles are known for their versatility, low maintenance requirements, and moisture resistance. They have a hard surface that doesn’t hold onto or attract dust, dirt, or pollen. Learn some of the pros of ceramic tiles below:
Easy to Maintain
Ceramic tiles are relatively easy to maintain, requiring only a basic mopping every so often. If any stains, dirt, or liquids get on it, they will all rest on top and won’t get absorbed. You can also keep them clean frequently by using a vacuum with a soft brush attachment or a broom to get any loose debris and dirt off the floor.
If any stains happen, you can use any cleaner, just like how to clean tile floors of different kinds. In addition to being easy to clean, germs won’t harbor on the floor, making it a great advantage when running a business that serves the public, such as a restaurant.
They’re Affordable on Any Budget
One of the biggest pros of ceramic tile flooring is that it is one of the most affordable types of flooring that you can buy. It ranges in price, so no matter what your budget is, you will be able to find a style and color that fits your needs. Most tiles will cost around $5 to $10 per square foot.
Tile is also more cost-effective than hardwood flooring but expensive than carpet. You can also find low-end ceramic tiles for as little as $0.50 per square foot and high-end tiles for as much as $15 per square foot.
When finalizing your budget, ensure you account for additional installation costs such as labor, tools, and supplies. This is because as you look into the better-looking tile and professional installation, tile flooring can cost more than quality hardwood flooring.
They Can Withstand High Traffic Areas
One of the benefits that ceramic tiles offer is that they can support heavy foot traffic. This means you can walk on them every day without wearing them down or having to worry about creaking noises while you walk over them. However, keep in mind the quality will yield more wear and tear than higher-end tile.
The intense firing process makes ceramic harder to crack than porcelain or stone tiles. A quality tile flooring installation should last 20 years, which could add long-term value to your property if properly maintained.
Water Resistance
Another benefit of ceramic tiles is that they are extremely water resistant. This will be perfect for areas with high humidity or the possibility of spilling liquids, giving you peace of mind knowing your floors will remain safe. There is a protective layer on top of the material, making it stain and water resistant.
This is very important in bathrooms and kitchens as the ceramic tile will last longer than other materials. If you buy unglazed tile such as traditional Saltillo tile, you’ll need to seal it to protect the surface from any liquids it might encounter. It must be properly sealed because the grout lines between the tiles can be susceptible to moisture.
Otherwise, water can get down deep into the lines, weakening their installation and putting them at risk for mold growth. This can lead to costly problems down the road.
Ceramic Tiles are Durable
Another element to consider is the durability of ceramic tiles. These floors are extremely sturdy and can stand up to heavy foot traffic very well. They won’t crack or break like other materials would, so you don’t have to worry about any unnecessary replacements that might affect the aesthetic value of your home.
And when one tile ends up breaking due to severe impact, you can easily replace the tile without redoing the entire floor. This allows you to keep your overall costs down because you don’t need to replace your tiles regularly.
They’re Allergen Resistant
Due to their hard, solid surface, ceramic tiles have a lot less porous area than other materials. This, in turn, makes them resistant to allergens and bacteria that might affect the overall health of the people living inside a house.
Allergen particles are easy to spot and remove, making them a great choice for family members who suffer from allergies and asthma. Ceramic tiles are a great option for people looking to keep the environment of their house free from harmful allergens or irritating materials floating in the air.
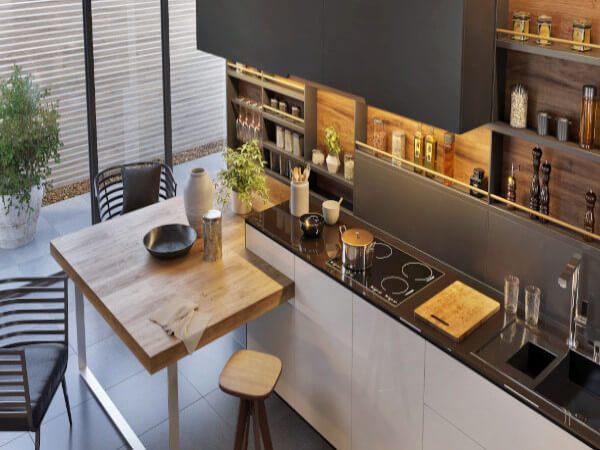
Ceramic Tiles Come in a Variety of Designs
The ceramic tiles currently on the market come in various colors, patterns, finishes, and designs, from subtle neutrals to bold mosaics. This makes it easy for homeowners to find the perfect tiles to match their home’s interior design scheme.

Image credit: https://www.homestratosphere.com/
Modern printing technology has also led to styles that mimic concrete, wood, and marble. This means that you can create a truly custom look by cutting your tile into planks or larger squares to make your space feel more open. You can also learn how to paint ceramic tiles and give them a perfect look.
Cons of Ceramic Tiles
The durability and moisture resistant feature of ceramic tile comes at a cost. So, it’s important to understand the drawbacks of this flooring option before heading to the home improvement center to make the purchase:
They’re Not Very Comfortable to Walk On
One of the biggest complaints about ceramic tile is that it’s not very comfortable to walk on. This is because it’s a hard surface, leading to joint pain and leg fatigue over time. Tile’s hardness can also be uncomfortable in areas where people stand for long periods, like in front of the kitchen sink or stovetop.
However, a few strategically placed area rugs and cushioned mats can help absorb some of that discomfort. As an advantage, the tile floor will feel great to step on the cold floor during the hot summer months.
It’s Slippery When Wet
Another drawback is that ceramic floor tile, like other hard surfaces, can be very slippery when it gets wet. This can pose a safety hazard if you have young children or older adults in your home. It’s especially dangerous to walk on tiles with water or ice because it can cause people to slip and fall.
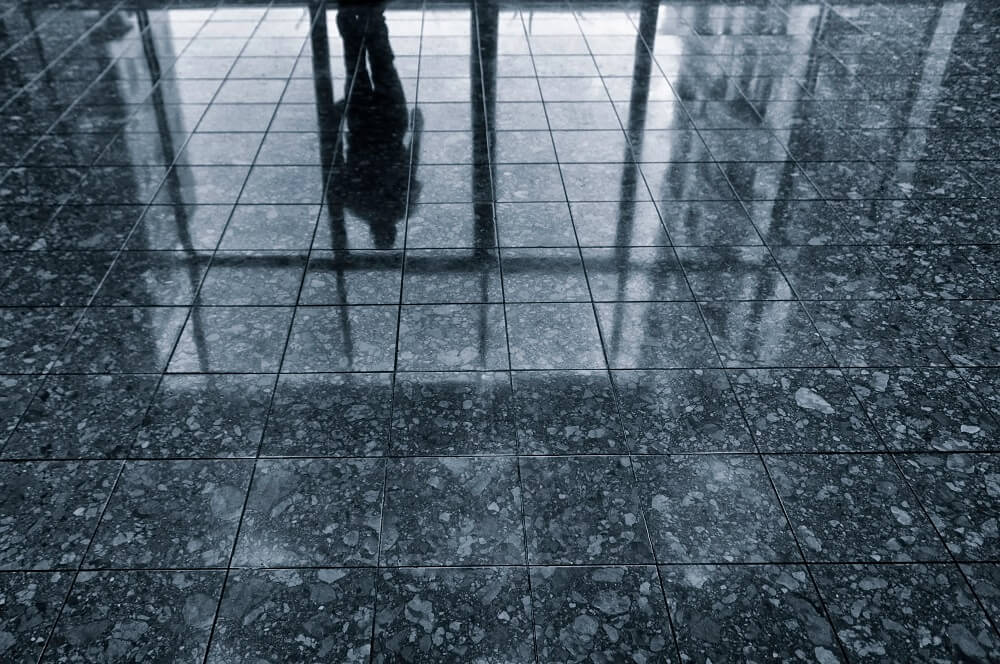
Image credit: https://www.covertecproducts.com/
This floor option is quite slippery, and if you’re installing them in highly trafficked areas, you want to prevent accidents as much as possible. In that case, avoid installing them in spots where liquid or water is spilled often on the floor, leading to injuries. For example, avoid using them in public bathrooms as you don’t want a lawsuit on your hands from a customer slipping on the wet tile flooring.
They Require Maintenance to Prevent Moisture Damage
Another thing to consider before picking ceramic tile flooring is that it requires a lot of maintenance. If you’re not careful, the tiles could get damaged from water and moisture, making them a breeding ground for bacteria and germs. With the grout lines acting as a pathway for liquid, this can be especially dangerous if anyone slips or trips.
A grout sealer is highly recommended on ceramic tile flooring to keep the moisture out and prevent damage like tiles’ watermarks. This also ensures that moisture doesn’t damage the underlying subfloor causing it to warp or crack. On top of this, having perfect subfloor conditions will ensure your tiles stay in place for years to come.
They’re Heavy
Tile flooring is heavy, making it a bad choice for upper-story installations. If it’s necessary to put tile flooring on the top level of a business establishment, then a professional should first check out the framing and building structure to ensure it can support the weight of tiles.
Ceramic Tile is Hard
Tile flooring is made out of ceramic, which is naturally hard. If you’ve ever stepped barefoot on a tile floor and felt the pain or heard your mother telling you not to run around on it, then you know how tough ceramic tiles are. Resilient floors can be softened with padded underlayment, but tile cannot.
Therefore, it doesn’t make for the best material for those who need to stand for hours at a time. You can use area rugs or throw rugs in the places where people stand most, like in front of the kitchen sink or behind the counter at the cash register.
High Installation Cost
Ceramic tile installation is not a do-it-yourself project. It’s also a time-consuming job that needs professionals. And, because of all the labor involved in the process, it is one of the most expensive flooring options you can choose.
Homeowners who want to install their tile should be careful of products that are easy to install and avoid tricky tiles such as large rectified tile, polished stone tile, and natural clay or Saltillo tile, which should be left for professionals.
FAQs on Ceramic Tile Flooring Review
Is ceramic tile good for flooring?
Ceramic tile is a good choice for flooring because it is durable, easy to clean, and can be installed in many different patterns and different rooms at home.
How can you tell porcelain tile from ceramic tile?
Ceramic tile is usually made in pottery or kiln, while porcelain tile comes from the same conditions but undergoes further refinement. The clay used in porcelain tiles tends to be purer and refined than ceramic tiles. Ceramic is designed for indoor use, while porcelain can be used indoors and outdoors.
Final Thought on Ceramic Tile Flooring Review
There you have it. The pros and cons of using ceramic tile on your floors. So, before you make the final decision on what to put down, make sure you weigh all your options.
The post Ceramic Tile Flooring Review: Pros and Cons appeared first on Kitchen Infinity.
Did you miss our previous article…
https://www.thelavkitchen.com/?p=787