If you are looking for a beautiful and unique ornamental plant, black lace elderberry is an excellent choice. It has dark purple foliage and blackberries, making for a dramatic landscape focal point during the growing season. This beautiful shrub goes by many names, including black lace, elderberry, common elderberry, black elder, European elderberry, Judas tree, and blue or black elderberry.
This versatile plant provides year-round beauty without much effort on your part. Whether you’re looking for a new ornamental shrub or simply want fresh fruit at your fingertips, this variety of Sambucus canadensis is sure to please. In this article, we’ll talk about everything you need to know about growing black lace elderberry.
Uses of Black Elderberry
Elderberry plants have gained popularity thanks to their lovely appearance and important uses in traditional industries, culture, and medicine. They fall under early spring flowers since they bloom creamy pink flowers in the spring. These are followed by blackish-red fall berries, which can be harvested for making elderberry wine and jam. You can also leave the elderberry wine on the plant to attract birds and other wildlife.

Image credit: https://www.thespruceeats.com/
Black lace berries are also edible and high in vitamin C. If you want to plant them for food and drink, then the American elderberry, also known as Sambucus canadensis, is the better choice than the European type known as Sambucus nigra.
The intense purple black foliage is finely cut, giving it an effect similar to Japanese Maple, also known as Acer palmatum. Some designers are even using it in the more tender maple varieties since black lace is extremely durable and adaptable.
It can also be used as a dramatic accent plant, planted en masse for a troublesome high hedge, or incorporated into the mix or perennial border. Black lace is also suitable for use in woodland gardens, rain gardens, and attracting birds and butterflies to the yard. You can also plant a black lace next to a shrub with brightly colored leaves to create contrast and interest.
This is a very cold hardy, and easy-to-grow plant adaptable to most sites. In addition, this plant is deer resistant, drought tolerant, fall heat tolerant, and a landscape plant. It can also be used as a potted shrub on the patio. It’s good in groupings or masses or perennial and shrub borders.
Common elderberry plants are deciduous plants or small trees that can reach up to 20 feet in height and width. Some specimens have grown as tall as 33 feet in their natural habitat.
Planting Black Lace Elderberry (Sambucus racemosa ssp. melanocarpa)
Black lace elderberry can grow in USDA plant hardiness zones 4-7 but is susceptible to winter damage. It is best planted in fertile, loamy soil with excellent drainage and receives full sun or partial shade. If planting specimens near homes or other structures, it is a good idea to place a barrier of mulch or fencing around the plants to protect them from being damaged by lawnmowers, mower debris, and deer.

Image credit: https://www.gardeningknowhow.com/
They are relatively easy to grow. They can be propagated from seeds, softwood cuttings, or semi-hardwood cuttings. Seeds need cold stratification. Seeds should be sown in the autumn and kept moist for 60 days before planting. A thin layer of vermiculite on top of the soil helps retain moisture. It also does well in wet soils.
These plants also do well in acidic to alkaline soils, but it’s also important to look for slightly acidic soil. Before planting this shrub, amend the soil with compost to ensure healthy growth. You can easily make your compost to use for the purpose. After that, it will benefit from regular fertilizing with compost once every year in the spring.
Due to their sporadic growth, elderberry plants tend to form a lot of suckers. So prune it regularly if you want to maintain size and shape for your shrubs. Pruning involves removing unhealthy, damaged, old, or dead branches in early spring.
Black Lace Elderberry Care
Black lace elderberry is self-pollinating, but if you wish to have as many berries as possible, you can plant another cultivar near your black lace elderberry for increased pollination.
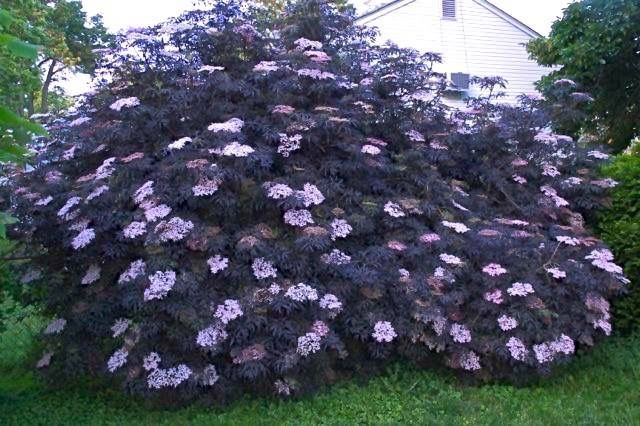
Image credit: https://i.pinimg.com/
Light Requirement
In the North, while black lace elderberry will tolerate partial shade, it will produce more flowers and a more attractive foliage color if grown in full sun. At the southern end of its range, it will benefit from afternoon shade.
Soil Requirements
Black lace elderberry grows best in slightly acidic, loamy soil that is moist but well-drained. The black lace elderberry bush also tolerates clay soil types better than many shrubs, but it performs better over time if planted in soil that drains well. Black lace does best in moist soil, although it will tolerate dry soils. It thrives under acid or alkaline soils.
Watering Common Elderberry
Black lace elderberry is a drought-resistant shrub and does not require large amounts of water to thrive. However, it benefits from supplemental watering during dry periods and in hot summer climates. The plant prefers evenly moist soil. And since elderberry shrubs often grow near wetlands, it tolerates wet soil better than many other plant species.
Fertilizer and Transplanting
This deciduous shrub needs to be fertilized in early spring by applying a slow-release fertilizer specialized for trees and shrubs. If you wish to transplant an existing plant, do so in spring or early summer while the soil is moist and warm. Elderberry shrubs do not recover well from root disturbance, so take care when moving them. You may harm or kill the plant with poor planning or execution.
When growing elderberry bushes in the home garden, plant them near a water source such as a drip irrigation system or pond, especially if rainfall is infrequent. Ensure that the roots get at least 1 inch of water weekly and keep an eye on soil moisture levels so you can provide supplemental watering during dry spells.
Pruning Elderberry
Best if pruned immediately after blooming. The correct time for pruning this plant is late winter or early spring. Pruning will keep it attractive, vigorous and check its spread. As the woody stems become older, they become weaker and less attractive. So, remove the older stems to direct more energy into the newer, more attractive ones.
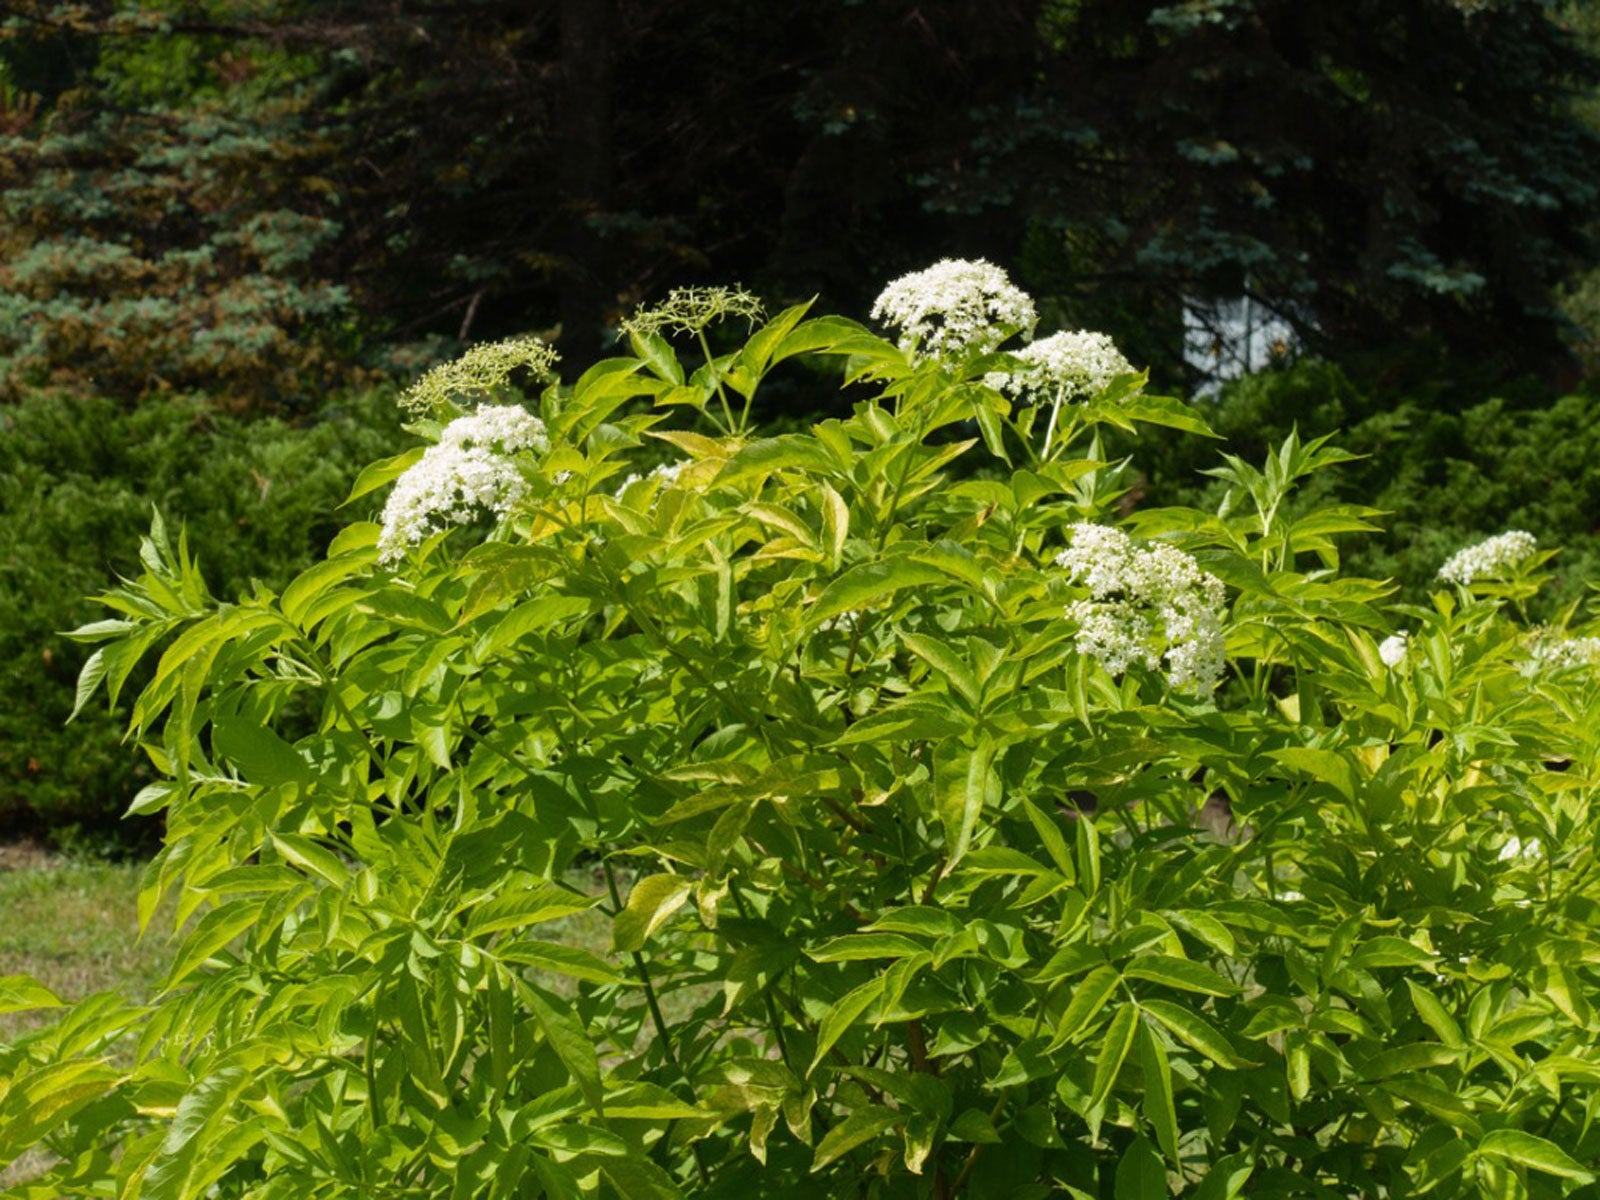
Image credit: https://www.gardeningknowhow.com/
Propagating Common Elderberry
Cutting the branches of the elderberry bush back to four inches gives you a convenient place to collect cuttings.
To propagate common elderberry, remove the smaller tip shoots from grown branches’ end and dip them into rooting hormone. The best time for this operation is fall or early winter. Remove all leaves on the cutting except the top two pairs. This makes it easier to dip into rooting hormone and reduces the chances of disease spores falling into any open cuts.
Shorten all side branches by half their length to direct energy into the main stem. Root the cuttings in a pot filled with sand, peat moss, and perlite at a ratio of 1:1:1. Water sparingly until roots form.
After three weeks, the cuttings should be ready to plant in your garden or for overwintering. Select a location that gets at least six hours of sun per day and has well-drained soil.
Common Pests and Diseases
Prone to a number of diseases, including canker, leaf spot, and powdery mildew. Apply Neem oil once pollination begins for best results. Also, make sure there is proper spacing to promote good air circulation, irrigate at soil level, and keep mulch six inches away from the main stems of the bush.
FAQs on How to Grow Black Lace Elderberry
What plants are compatible with black lace elderberry?
White pine trees and quaking aspen are good elderberry companion plants, especially if you’re looking for something taller than the shrubs.
Final Thought on How to Grow Black Lace Elderberry
Elderberry plants are very popular plants that you can never miss. Not only do these shrubs look splendid and very familiar, but they’re also low maintenance in almost any environment and growing conditions.
The post How To Grow Black Lace Elderberry appeared first on Kitchen Infinity.
Did you miss our previous article…
https://www.thelavkitchen.com/?p=848