Pruning roses can be a tricky thing to do. If you don’t know what you’re doing, your plants could end up looking worse than before. One of the things that make pruning roses difficult is that there are so many different types of roses and it’s hard to know which ones need to be pruned, when, and how much they should be cut back. But if you know how to plant roses then you should also know how to prune them.
Fortunately, we provide you with step-by-step instructions on how to prune roses properly. It’s easy enough for beginners but also has some good tips even if you’ve been working with rose bushes all your life. Let’s get started!
When to Prune Roses
Pruning roses is not something you should do too often. The best time to prune these plants is at the end of winter, i.e., after they have completed their blooming cycle and right before the new one begins in spring. Dead flowers can be cut back anytime in the summer. During the flowering season, deadheading spent blooms will encourage more blooms and maintain an attractive shrub.
Pruning is also determined by the class of the rose plant and the hardiness zones in which it grows. Also, trim longer stems after a first-killing frost to keep your roses from snapping in winter storms.
Where to Prune Roses
The most obvious areas to prune on rose bushes are those with dead or diseased plants, absolutely out of control, and those that show no signs of life. These dead canes may result from disease, pests, or just a general lack of attention.
You should only remove branches from healthy plants as much as you need to allow airflow. In addition, these plants will also need a little trim back now, and then so they don’t take over the entire garden.
To keep the rose garden looking neat, you’ll also need to trim it periodically throughout spring and summer until autumn arrives. You can even use hedge trimmers to add a finished look. The ultimate goal is to maintain a V formation or an open vase shape.
Tools and Materials
Gardening glovesHeavy long sleevesBypass pruning shearsWhite glue
Pruning Steps
Remove all Remaining Leaves
Wear gloves and pull on heavy long sleeves as you’ll be removing leaves that can cause sap to splatter. For this task, you’ll need a pair of pruning shears. Start at the bottom of the plant and work your way up, making cuts where branches grow out from the main stem. Keep in mind these cuts will stop the growth of rose flowers, which is the desired result.
Prune from the Ground Up
As you take the inventory of your rose bush, note down its overall health and shape. Then go slow while pruning the dead canes at the base and opening up the interior to light and air circulation.

Image credit: https://www.gardendesign.com/
Remove any Broken, Dead, and Diseased Material
How do you know that the wood is dead or diseased? You have to cut it, and if it is brown, it’s dead, but if it’s green, it’s living. Cut away any diseased branches. Cut them flush with the bush’s base or at a 45-degree angle, exposing their white insides. If the flesh is not white, cut until you reach the living canes.
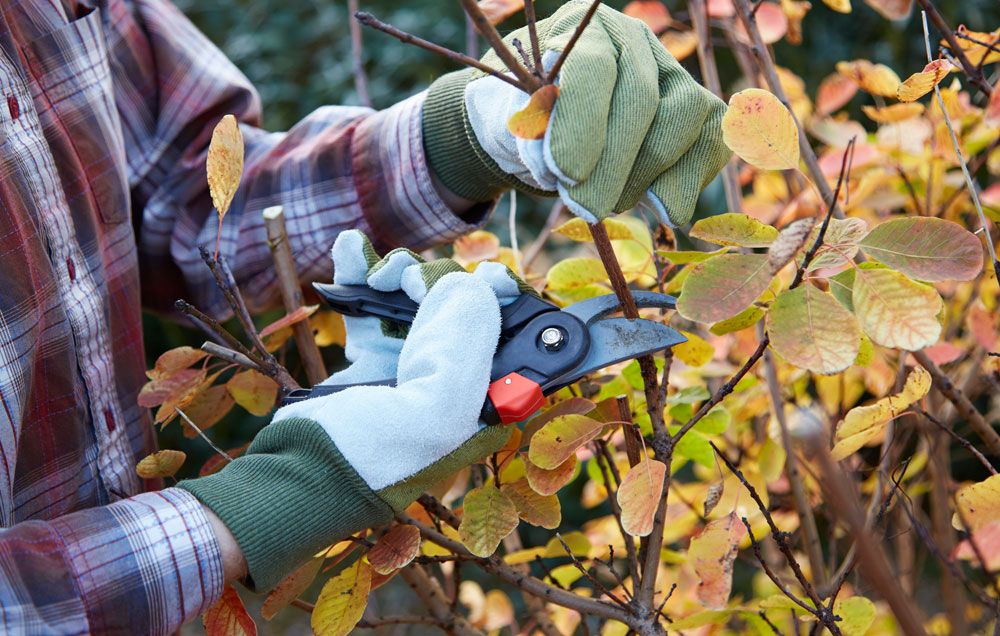
Image credit: https://hips.hearstapps.com/
Open Up the Center of the Plant
Start pruning the center of your rose bush by removing any canes crossing or rubbing against each other. Cut them at 45-degree angles, exposing the inner flesh. Also, cut off any unneeded growth shoots growing between your rose plant’s main stems and branches.
Remove Thin, Weak Growth
Remove those twiggy canes that are thinner than a pencil. If left, these thin canes can grow gangly and produce weak growth. If they are allowed to grow, the plant will become top-heavy and fall over the next season.
Remove Sucker Growth from the Base of Grafted Roses
Suckers appear at the base of a grafted rose bush. These vary from soft, thin shoots to stronger ones that resemble a small tree trunk. Left on its own, a sucker will turn into another plant entirely and take away needed nutrients from the mother plant.
/pulling-sucker-away-from-rootstock-of-bush-rose--wearing-protective-glove--close-up-103313972-5b29a338fa6bcc00360d31ce-5c4e8cbd46e0fb0001c0dad6.jpg)
Image credit: https://www.thespruce.com/
When pruning bushes after flowering is finished, stop pruning at least 2 inches above a five-leaflet leaf. When your rose bush has finished flowering, cut off weak growth and remove suckers from the base.
Prune the New Growth
Prune the remaining canes by cutting them at a 45-degree angle and about a 1/4 inch above a five-leaflet leaf. Remove the strongest cane when pruning, leaving three to five of the most vigorous canes for this season’s growth. New stems should grow in the direction of the bud, and they should grow outward and not inward.
Seal Freshly Cuts with White Glue
Cut off dead or dying wood and spindly growth with hand pruners or a knife. Cut at a 45-degree angle where it meets a new stem. Seal fresh cuts with white glue to prevent rot and cane borers from entering the plant. After you have finished pruning, fertilize your bush with rose food for new roses.
Follow with Clean Up
After pruning, make sure you get rid of the debris around your rose bush. Throw it away, burn it, or compost it so that you don’t get pests and diseases in your garden roses, such as black spots and powdery mildew. These can take over quickly if left untreated.
Rose Pruning Tips
For diseased branches, major pruning should be done in early spring. Dead branches can be red, yellow, or splotchy colored. If you don’t know the type of rose bush, then watch it throughout the growing season. If it blooms on the new growth, trim it next year while the plant is breaking dormancy.
If it blooms early on last year’s canes, then it’s an old-time type rose. So, don’t prune it until after flowering is complete. For maintenance during the blooming season, the deadhead blooms to a strong node and removes fallen leaves from the ground.
It’s best to trim roses as soon as they finish blooming because flower buds for the next season form as the current flowers fade. In bloom time, these flower shoots should be removed during deadheading, or they will go to seed and not produce any more flowers this year.
Roses that Bloom Once on New Growth
Modern roses like hybrid teas, grandiflora, and floribunda bloom best on the current season’s growth. Species roses, old roses, and once-blooming shrub roses are also more primitive types that bloom first on dead wood during mid-summer.
All these types should be pruned in late winter or very early spring before greening up and branching. Create an open vase shape by removing the center stems and any crossing branches.
These roses bloom more than once per season and they bloom on new wood. Leave a healthy cane evenly spaced around the plant, then cut it at various lengths to encourage blooming.
Roses that Bloom Once on Old Wood
To keep roses like ramblers in check, you have to prune them to remove dead, broken branches, and dead wood after blooming. Rams continue to bloom on old wood, so cut these roses back severely once the flowers fade by about one-third.
Everbloomers
Shrub rose bushes like the knock-out varieties, and the fairy is repeat bloomers, and they flower on maturity. Leave them unpruned the first two years to increase vigor. Then, remove 1/3 of the oldest canes, plus any dead, diseased, and dying canes. Knock-outs are ready for their first pruning in their second or third season.
Climbers like climbing roses and William Baffin Rose may also repeat bloom. So, trim it early to remove dead canes. Avoid annual pruning until summer after the peak of the bloom. Note that climbing roses have two types of roses which include main and lateral.
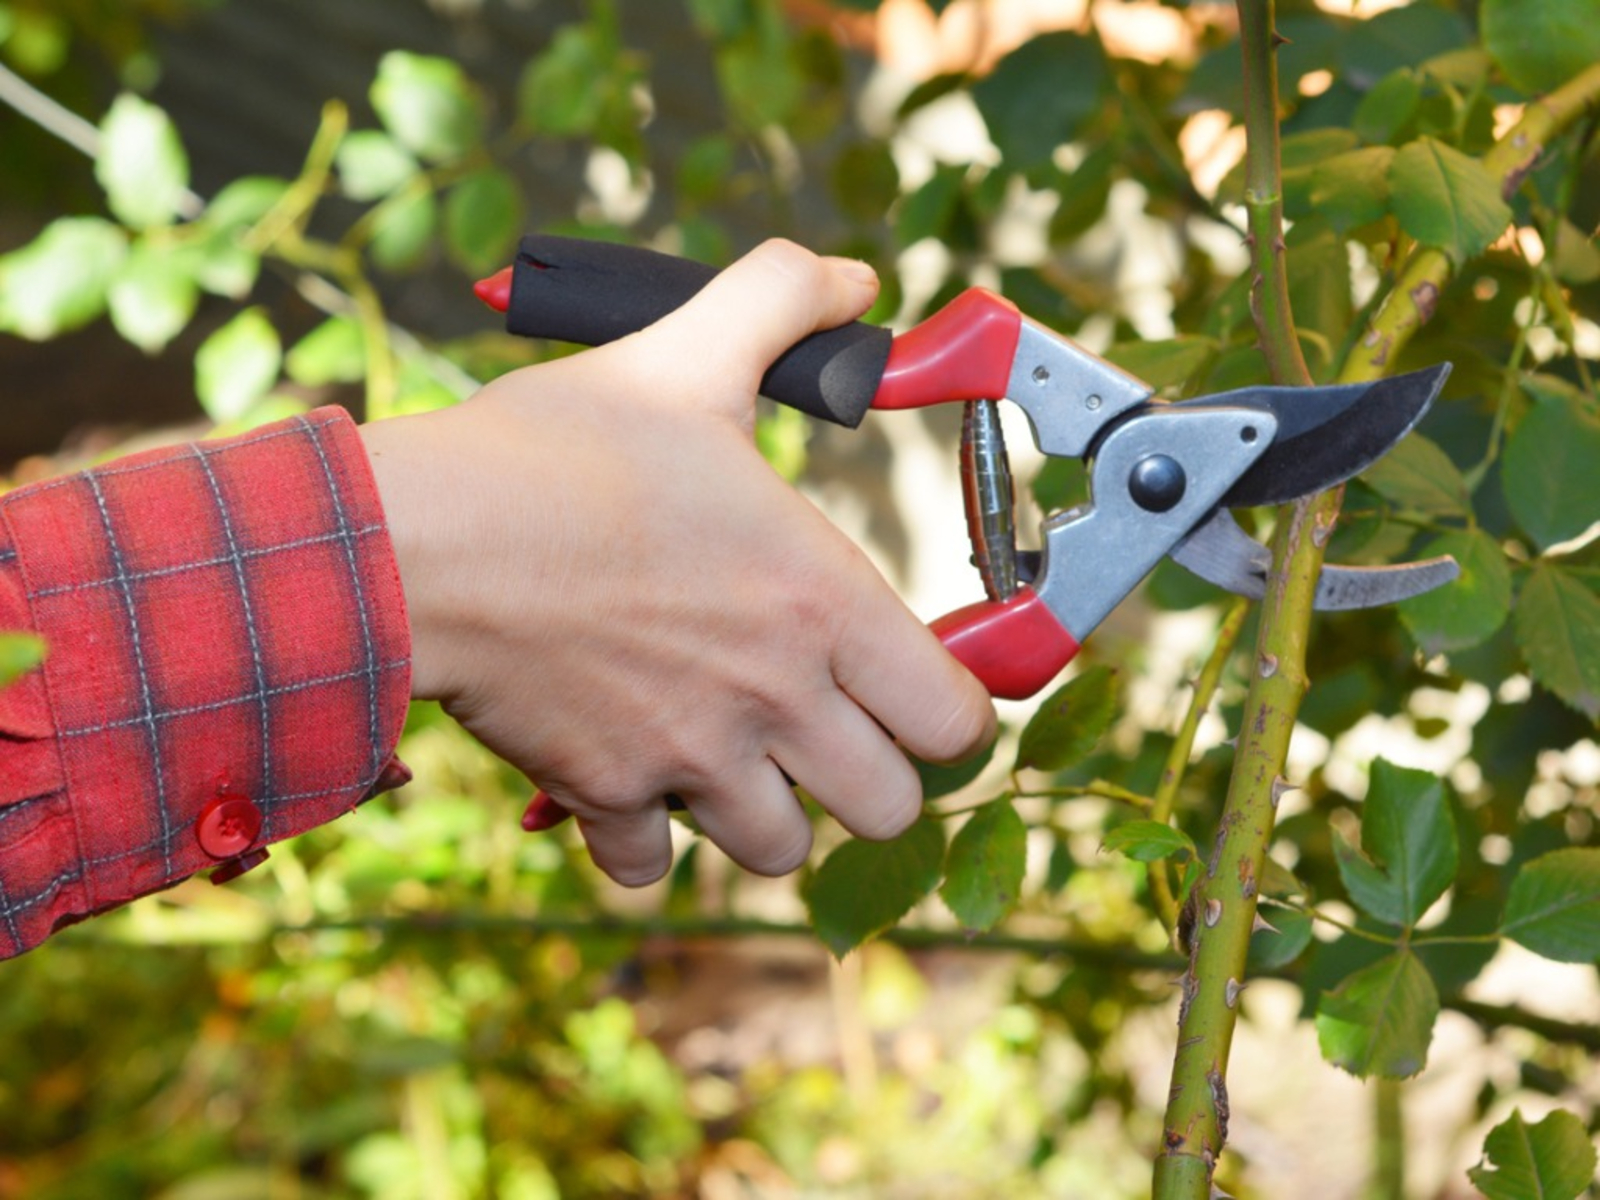
Image credit: https://www.gardeningknowhow.com/
Main canes come from the base while lateral canes produce flowers. Lateral canes also encourage blooming. However, you shouldn’t fuss about pruning to the outward-facing bud because shaping climbing roses this way isn’t necessary.
Rose hips should also be left in the warmer climates through the fall and winter just like other roses. Do not trim the last blooms of the season; instead, remove petals. However, in colder climates, you should remove the rose hips before winter.
FAQs on How to Prune Roses
What is the best time to prune roses?
Late summer and early winter is the best time to prune roses because that’s the time new growth begins.
Which type of pruner to use when pruning roses?
Always use a good quality pair of bypass pruners or secateurs when cutting canes, young or old stems, and small branches.
Final Thought on How to Prune Roses
As you can see, pruning is vital to the health of your rose bush. It helps promote new growth and encourages flowering. It’s the type of rose bush pruning that will keep your rose garden healthy for years to come. Pruning stimulates growth and leads to more blooms and a healthier plant overall.
The post How to Prune Roses appeared first on Kitchen Infinity.
Did you miss our previous article…
https://www.thelavkitchen.com/?p=160