Choosing the right backpack can be a difficult task for students, especially in high school or college. It is not easy to pick the best backpack that will suit your needs. With so many options available today, it can be overwhelming and confusing to choose one. Which type of bag should you get? What features do you need?
Below is the list of the best backpacks for college and high school kids in 2021.
1. Herschel Pop Quiz Backpack Herschel
Pop Quiz Supply Co. is an independent designer, distributor, and manufacturer of luxury backpacks, bags, and accessories. One of their best-sellers is the Herschel Pop Quiz Backpack which has everything you need for college. This backpack is spacious, durable, and lightweight.

Image credit: https://www.gadgetreview.com/
It offers enough compartments to keep your must-have organized. This bag comes equipped with a padded laptop sleeve, fleece-lined sunglasses, and a few other compartments you can use to store your go-tos. The base of this bag is also lined with a water-resistant faux leather panel that keeps your items safe from spills and puddles.
2. Moleskine Metro Backpack
This backpack is a multi-purpose bag you can use to store all your college essentials. It has several compartments where you can store your laptop, phone, charger, and even your notebooks. It features padded straps that add extra comfort when carrying the pack for hours.
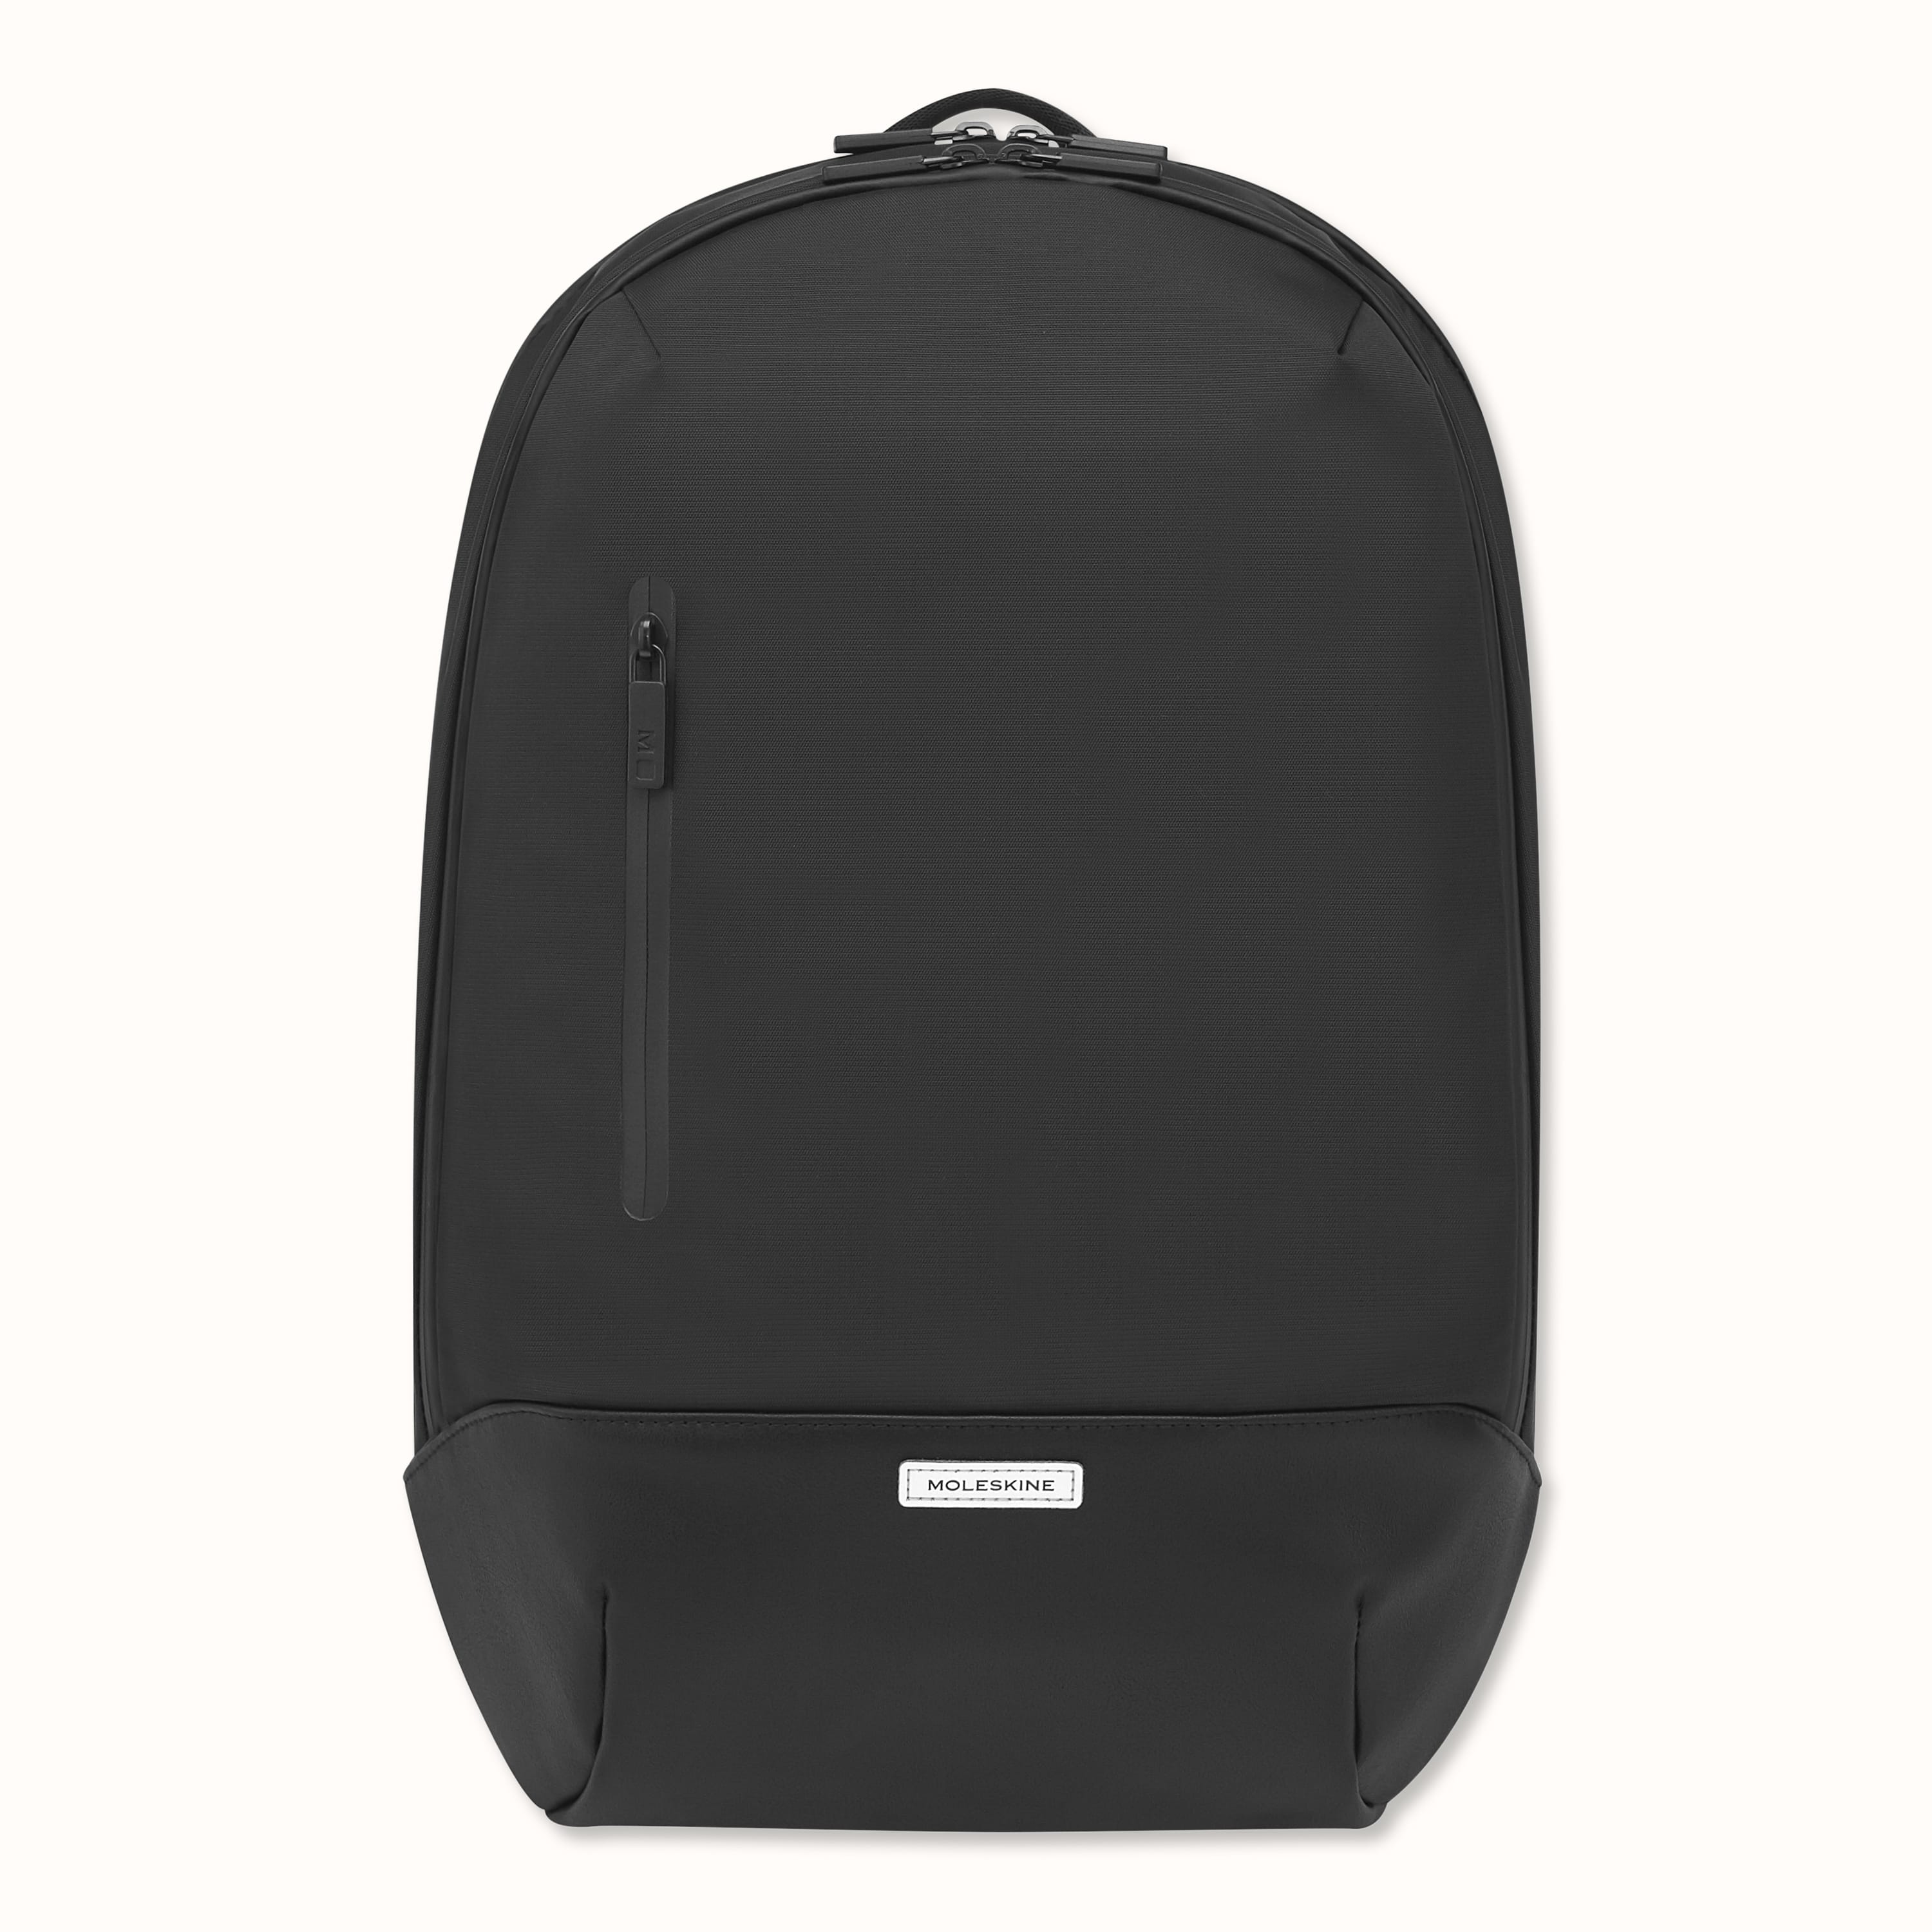
Image credit: https://www.moleskine.com/
If you’re looking for a sleek, compact backpack that can help you keep your laptop safe from elements, then this is the right choice. This bag is crafted from water-repellent nylon, and it boasts a protective polyurethane base that keeps your electronics safe from spills and puddles.
3. Everlane Modern Snap Backpack
For minimalist college students, this backpack from Everlane is a good choice. This pack doesn’t have traditional compartments or zippers. Instead, it features a series of pouches and slots that allow you to store your stuff in the most efficient way possible.
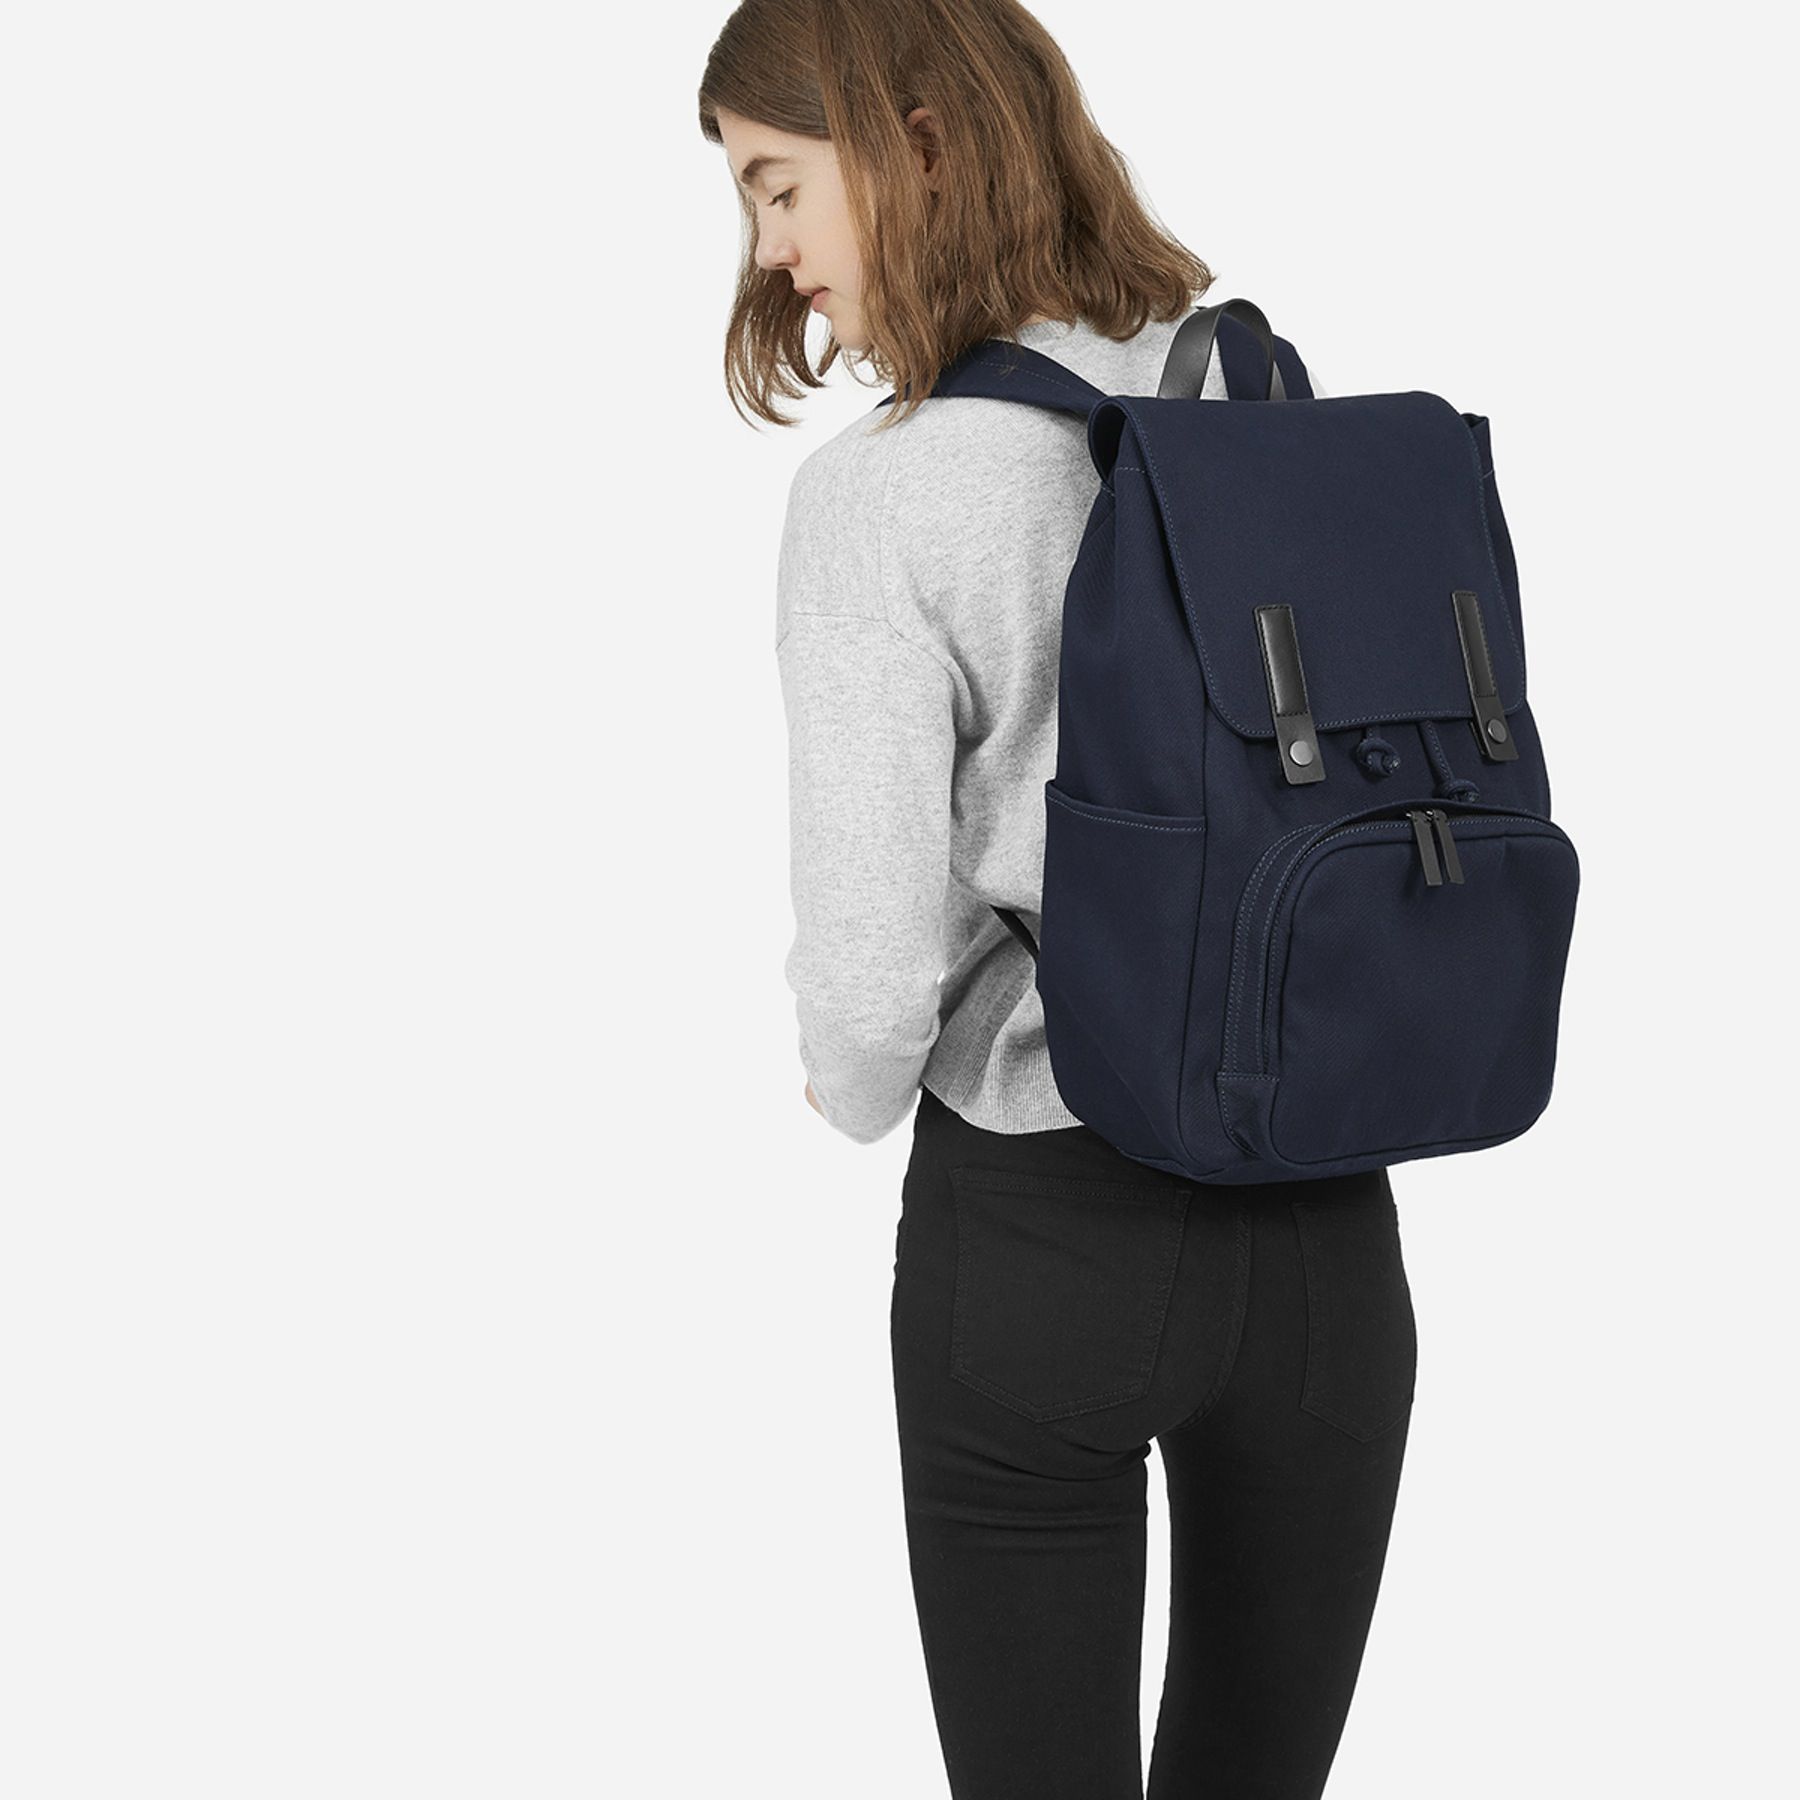
Image credit: https://i.pinimg.com/
Plus, its design allows you to store laptops, notebooks, and other school supplies. It has an exterior side pocket for your water bottle, making it safer for your inside belongings. You can also keep it for the longest time, thanks to its water-resistant cotton twill exterior.
4. The North Face Borealis Backpack
One of the best backpacks for college is this one from The North Face. It has 28 liters of storage space, perfect for carrying your books and notebooks on campus. Additionally, it features a fleece-lined pocket that allows you to keep sunglasses protected when you’re on the go.
Image credit: https://images.thenorthface.com/
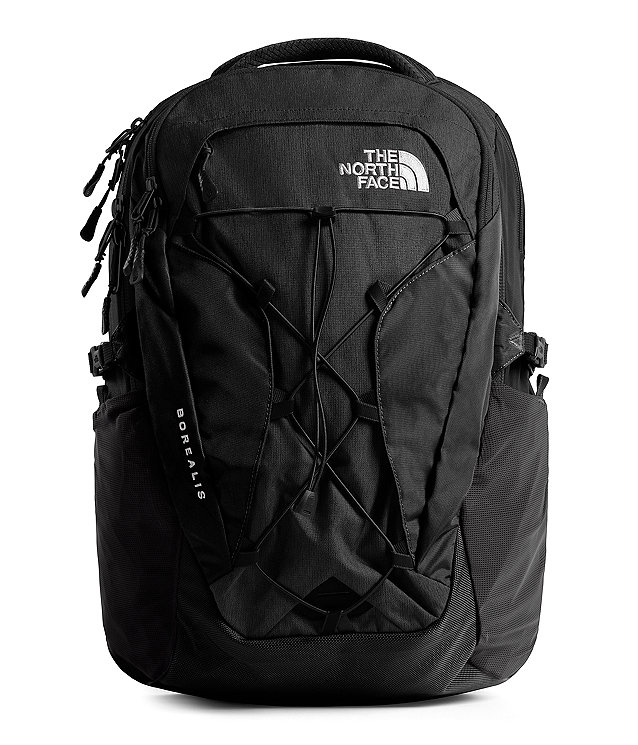
If you need a whole lot of space, the Borealis backpack is a perfect choice. Upfront, it has an elastic bungee system. This bag is also comfortable, and there’s also a version that can fit women’s bodies. It comes in various colors, fitting everyone’s preferences.
5. Mokuyobi Flyer Backpack
This is one of the best backpacks for college students because it’s got a huge amount of space. If you want to carry your laptop, tablet, or iPad with you, there are two pockets in the front that can fit most laptops with screen sizes up to 15 inches. You’ll also find several exterior pockets with zipper closures.
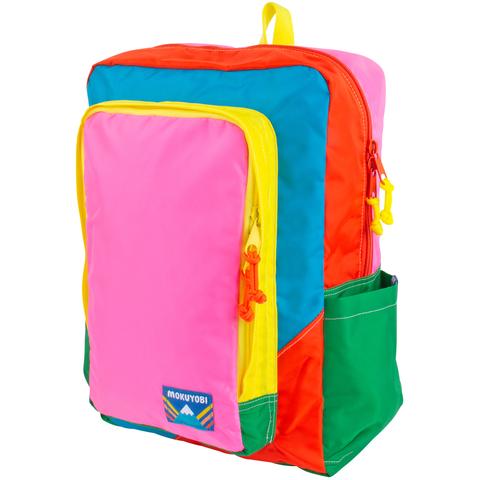
Image credit: https://cdn.shopify.com/
There is an open space that’s perfect for carrying several books. If you’re worried about running out of time, this is for you. It has some space for extra clothes, some make-up or perfume, and a few items.
6. Herschel Heritage Classic Backpack
If you’re looking for a stylish backpack for college, this is your answer. Herschel is a brand that’s known for its affordable and trendy bags and accessories. It has several designs to choose from, so you’ll surely find one that complements your style.
This backpack has a bit more than enough space for most students with 19 x 13.5 x 8 inches. If you also like a light, classy backpack, this may be the best backpack for you. It has a large compartment with a sleeve that can hold a 15-inch laptop and a small media pocket with a headphone port.
The classic black color with a saddle brown faux leather bottom is one of the 23 designs available. It has an air mesh back padding and cushioned straps that keep you comfortable across the campus.
7. Dagne Dover Dakota Backpack
This is a cool backpack for students who are always on the go. It has one main compartment with dividers to provide easier organizing. The exterior also features two front zippered pockets, one of which is padded to protect your laptop or tablet.
There are three colors available, including dark pink camo, midnight camouflage, and navy blue. For comfort and better back support, the designers made the straps adjustable. It also has the signature feature of Dagne Dover’s backpacks and bags, which is the key leash.
The superior material is made of premium neoprene, making it water-resistant, hand-washable, and one of the most durable backpacks on the market.
8. Modoker Vintage Laptop Backpack with USB Charging Port
This is great for any college student. It can fit most laptops up to 15 inches with its slim design, making it perfect for many carrying cases during the day. With two front pockets, one of them with a built-in USB port, this backpack will make it easier for you to access your phone or tablet while on the go.
This backpack has a roomy main compartment with a padded laptop sleeve and an internal organization panel. There is also a front pocket for your accessories, such as pens, calculators, tablets, phones, and more. This backpack also boasts spacious main compartments, two water bottle pockets, and two compact pockets.
9. Day Owl Backpack
If you want to live a sustainable life on campus, then the qualities of this backpack suit you well. While the bag looks trendy and small with its circular design, the interior of this backpack is very spacious and can hold your laptops, a few books, and other belongings. You can also send this backpack back for repairs to make it last longer.
Also, if you’re looking for an eco-friendly backpack that will suit all your outfits while carrying all your items in it, then you should consider this one. Since the bag is made with non-toxic materials and the company’s claim that every feature in the backpack has an environmental purpose is convincing, I’d say that there is no reason not to buy this for yourself or even friends who are into sustainable living.
10. Fjallraven Kanken Laptop Backpack
Fjallraven Kanken Laptop Backpack is a highly practical and stylish backpack. If you’re looking for a high-quality, durable backpack that does not look like a typical boring one, this should be your choice. In addition to its durability, the Fjallraven Kanken is also waterproof and highly functional.
It comes with a number of pockets and compartments inside and out, which means you can fit everything you need in the backpack, including assorted snacks for your college days. If you’re looking for something trendy but functional, this might be the best choice for you.
The Fjallraven Kanken comes in 17 colors inspired by nature, including acorn forest green and autumn leaf. The ergonomically designed padded shoulder straps also make a comfortable journey between classes.
11. Timbuk2 Spire Laptop Backpack
This is another great choice of student college backpacks. It’s designed to protect all your 15-inch laptops and tablets. With careful details like the Napoleon pocket that makes it easy to quickly access important items, rugged ballistic zips, and a scratch-resistant lining, this bag is just an example of what you can expect from Timbuk2 products.
If you’re going to school in a rainy city, this bag should be one of your options. It’s made out of canvas fabric and waterproof material, enabling it to keep your laptop dry. It also has a laptop compartment and a zip pocket that can hold your phone, wallet, and other small, significant items.
It has multiple storage spaces for pen holders, water bottles, and other school supplies on the inside. Apart from the laptop compartment, the main compartment can carry books, extra jackets, and other essentials. It has incognito back zip access and a secure pocket for valuable items. It also has comfortable straps which are adjustable and come with a sternum strap suitable for travelling.
12. Vera Bradley Signature Cotton Campus Backpack
Vera Bradley is a globally recognized brand with an extensive selection of luggage and backpacks. This backpack comes in 13 different designs, giving you a wide range of options to choose from depending on your style preferences.
The bag has double carrying options, a short handle, and adjustable shoulder straps. It has a front pocket with a flap and an additional zipped pocket for your valuables. It also has three pen holders. In addition, it has no natural wool fiber, making it perfect for animal lovers.
13. JanSport Right Pack
The Right pack features the signature suede leather bottom, padded laptop sleeve, two front pockets, and a side water bottle pocket. This backpack is also made of durable Cordura fabric and comes with an organizer. The company is also committed to providing durable and reliable products offering you a lifetime guarantee.
If the bag breaks down, you can send it back, and the company will fix or replace it. Additionally, there are many colors and designs you can choose from. For example, you can display your personality in bright, floral, and evergreen tones.
14. Lululemon City Adventurer Backpack
This college student backpack is for you if you’re a sports enthusiast and want academic success and a fit body. It has enough room for your laptop and comes with an expandable pocket that could hold your gym clothes. It has a water repellent fabric and comes in different colors.
The minimalist design of this college backpack makes it fit well in both class and at the gym. If you want to save time and money, this is the backpack for you.
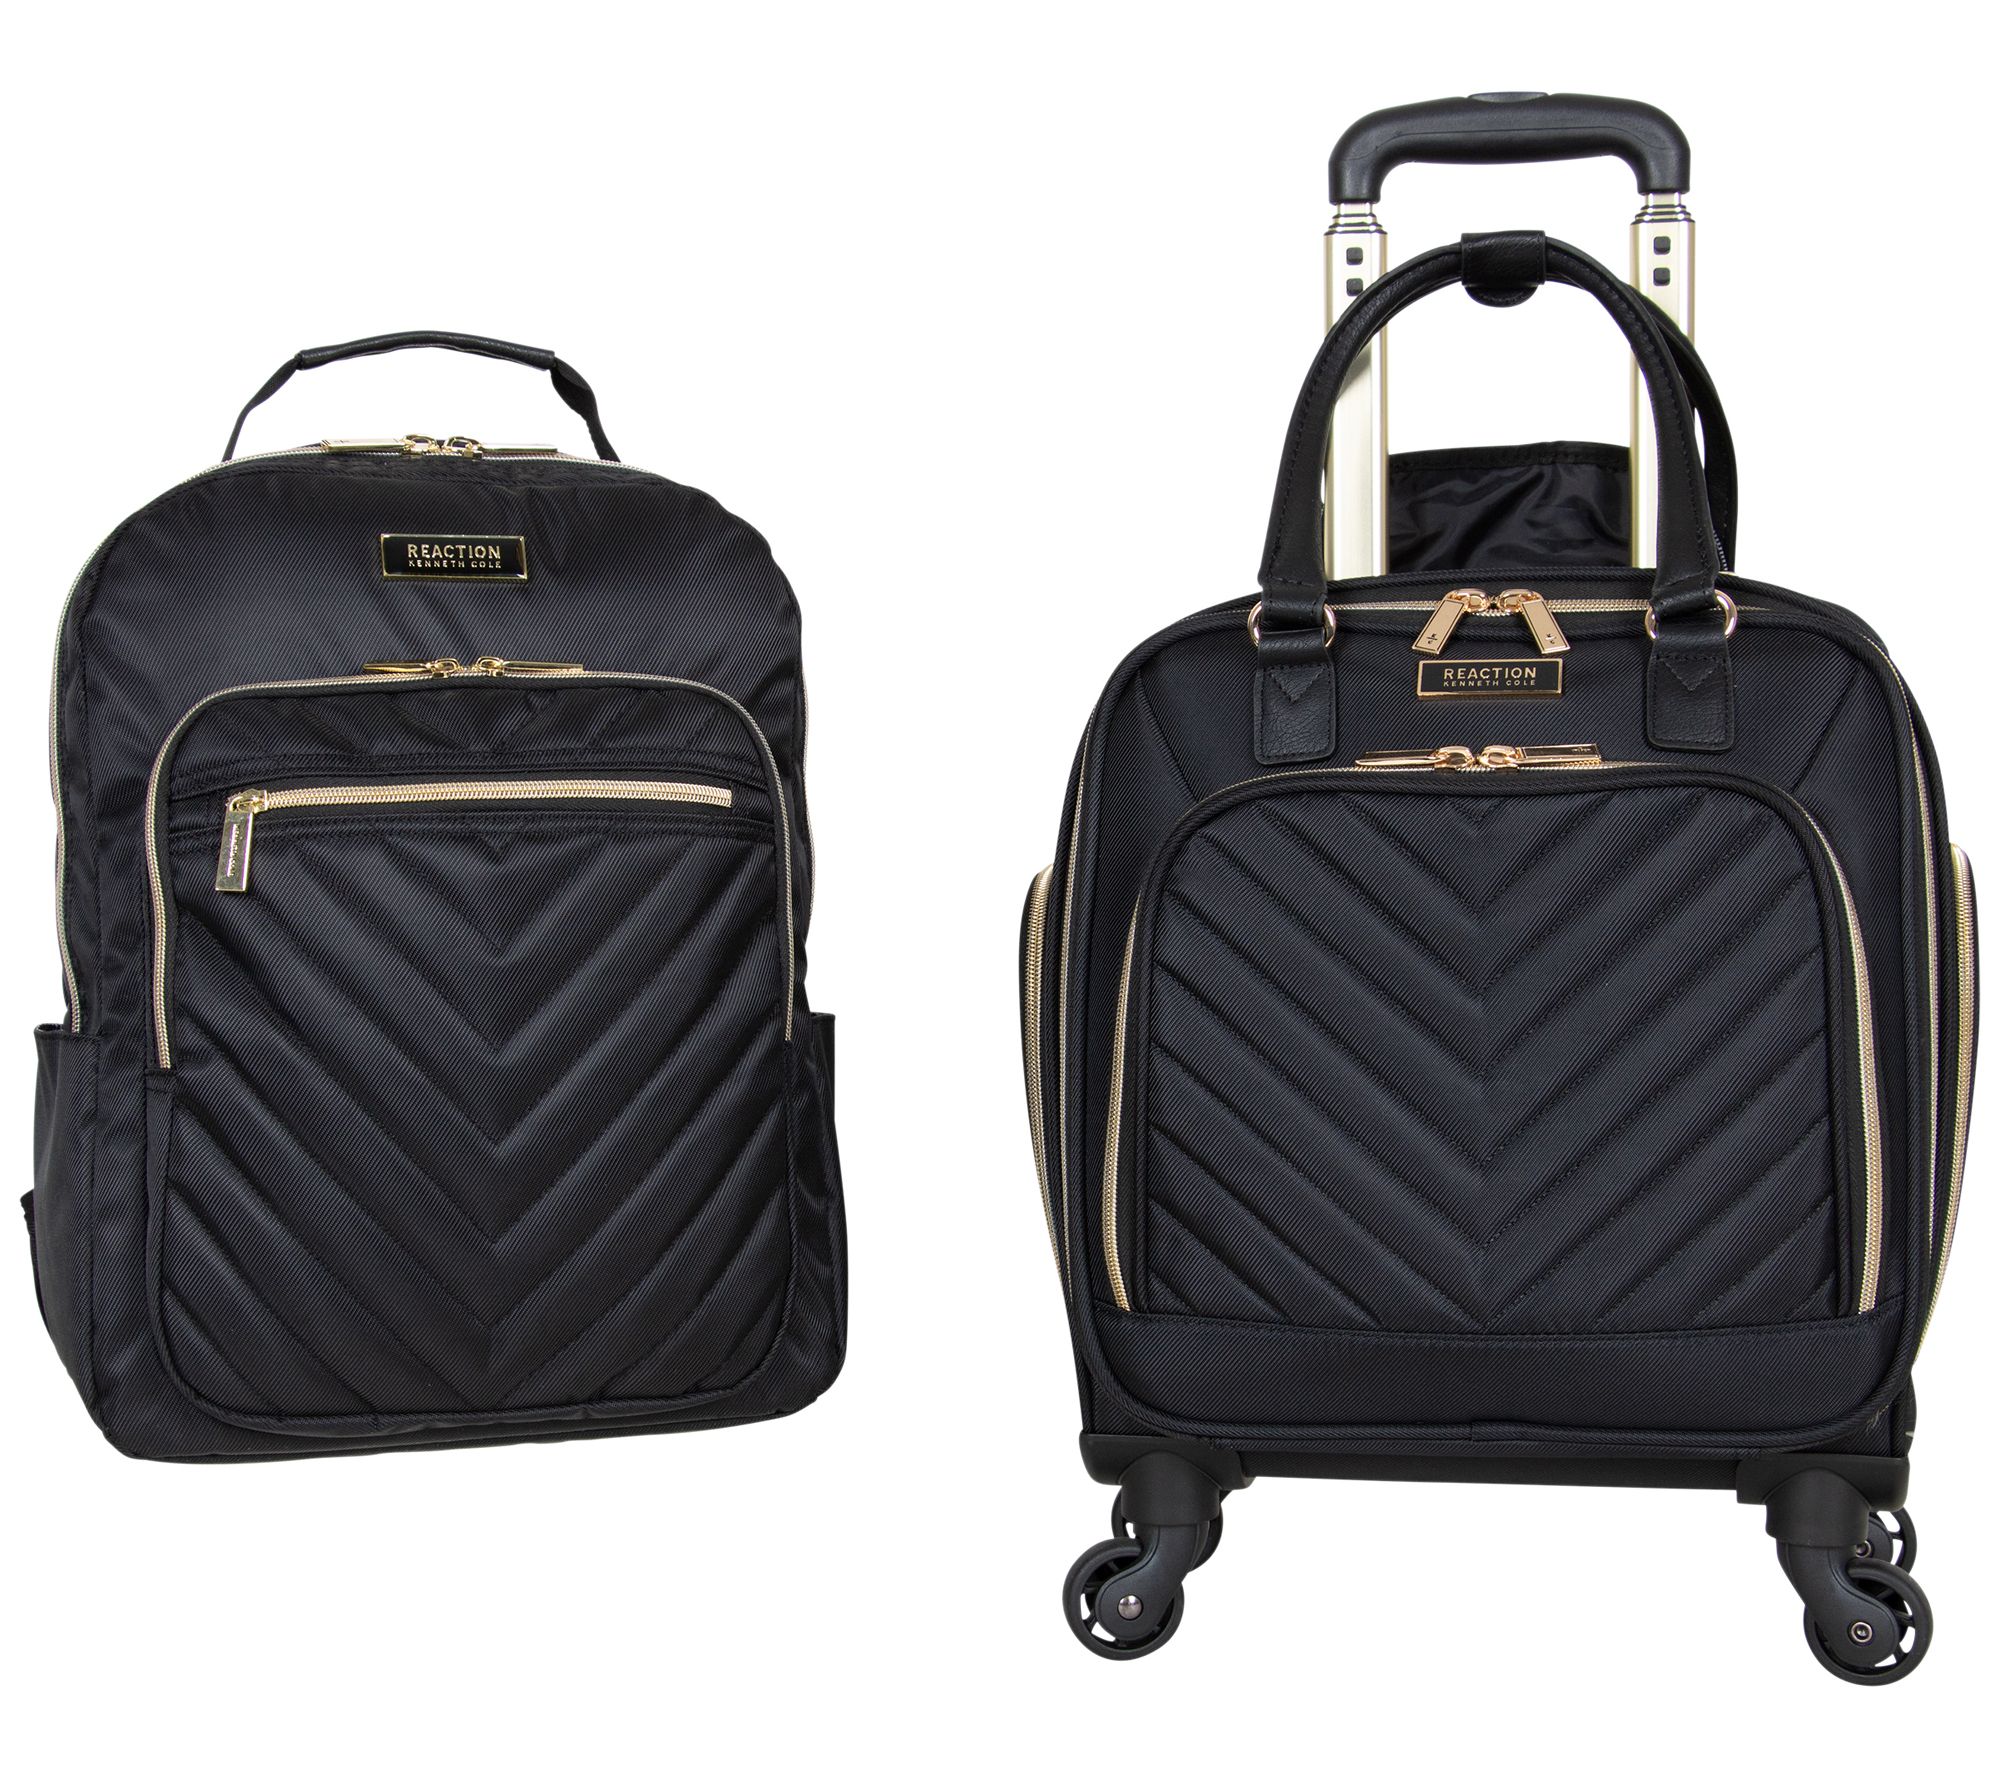
15. Kenneth Cole Reaction Women’s Chelsea Backpack
If you’re looking for a feminine backpack with enough for all your school essentials, grab this Kenneth Cole Reaction backpack. It has enough room for your laptop and all the other things you need during class, plus it comes with an extra compartment where you can keep your sunglasses safe. It also has interior pockets where you can place your pens, phone and tablet.
Image credit: https://qvc.scene7.com/
16. Herschel Dawson Backpack
Hershel backpacks are very popular. However, this one differs from other backpacks belonging to the same brand through its separate front pockets.
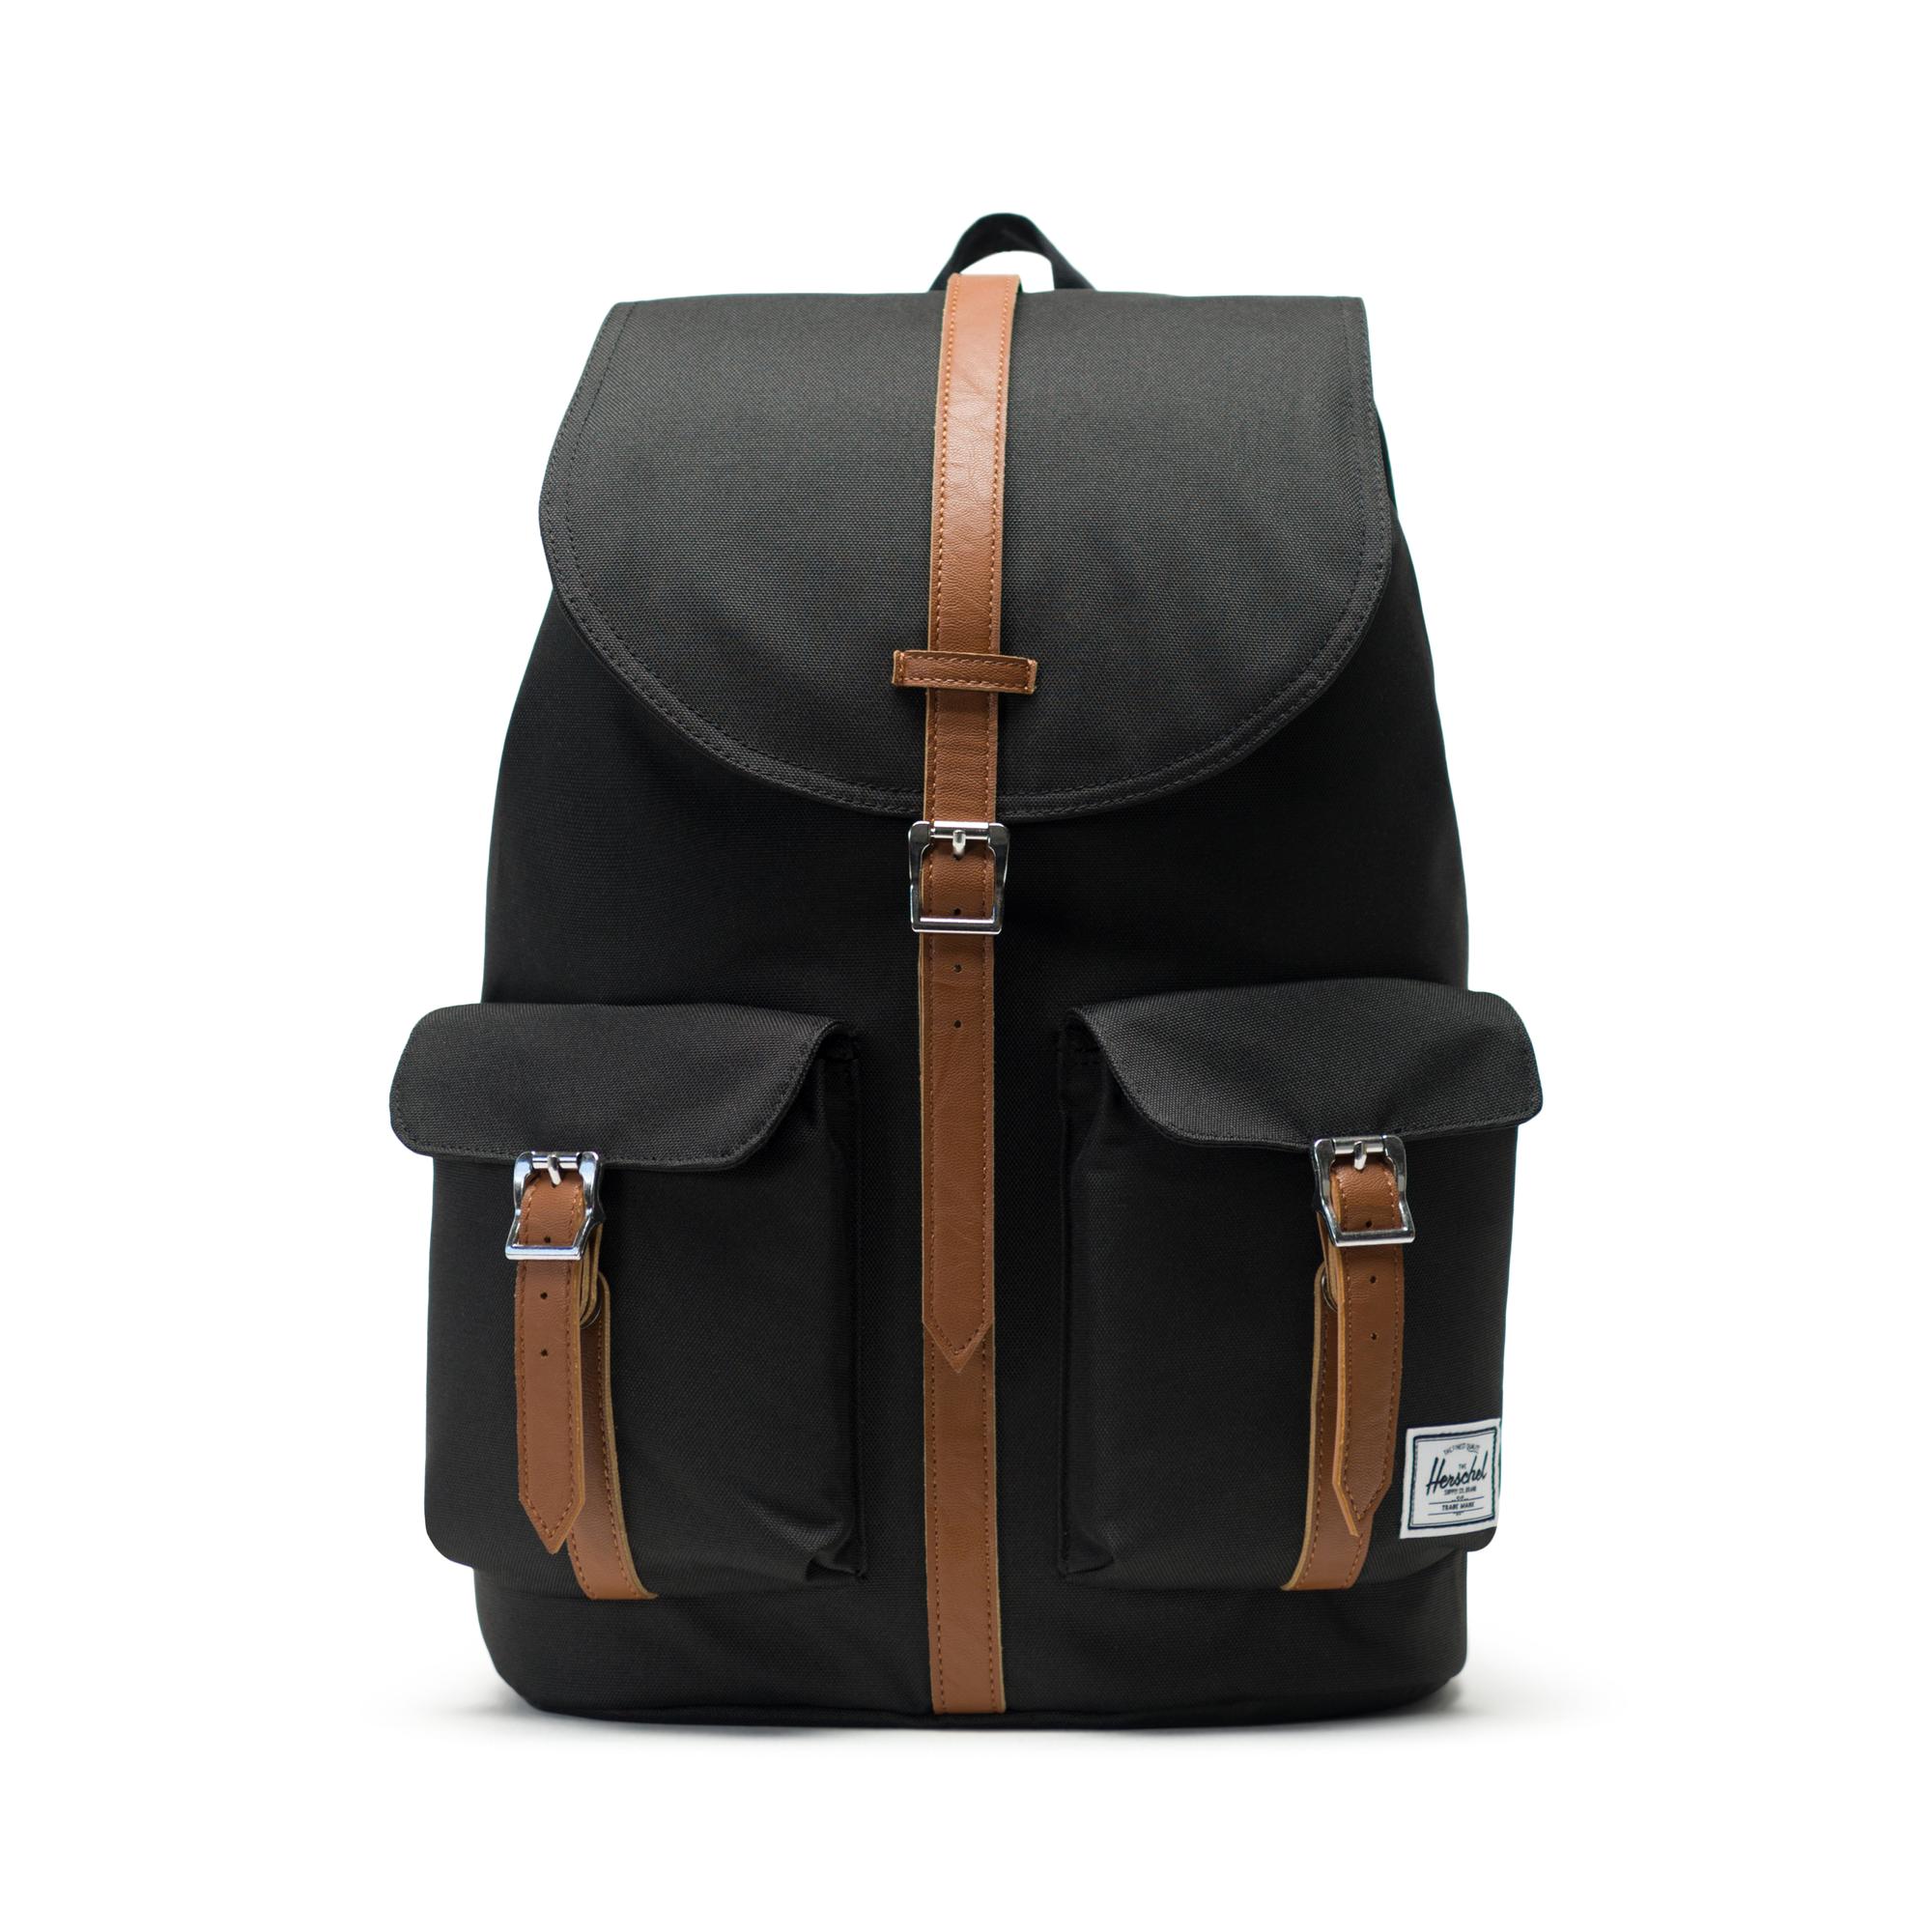
Image credit: https://herschel.eu/
The pocket has a drawstring closure with foam padding for extra protection. Plus, the main compartment has a capacity of 20.5 liters and can hold laptops and notebooks effortlessly.
FAQs on Best Backpacks for College 2021
How do you choose college backpacks?
By the total capacity. It should be spacious enough to carry all your books, laptop, computer accessories, and toiletries.
How do you choose a durable backpack for college?
By its fabric and construction. Good backpacks are made of robust materials like leather and canvas to ensure long-lasting durability.
Final Thought on Best Backpacks for College of 2021
Being a student is already hard enough. Try to make it simple by choosing the right backpack. Remember that a good backpack shouldn’t only have trendy looks and enough space for your things. It will also contribute to your health, and a low-quality backpack can deform your spine and put you in tremendous pain.
The post 16 Best Backpacks for College of 2021 appeared first on Kitchen Infinity.
Did you miss our previous article…
https://www.thelavkitchen.com/?p=451


/godetia-plant-profile-4800077_03-0851a9a0fa004a18a5328540b257a908.jpg)