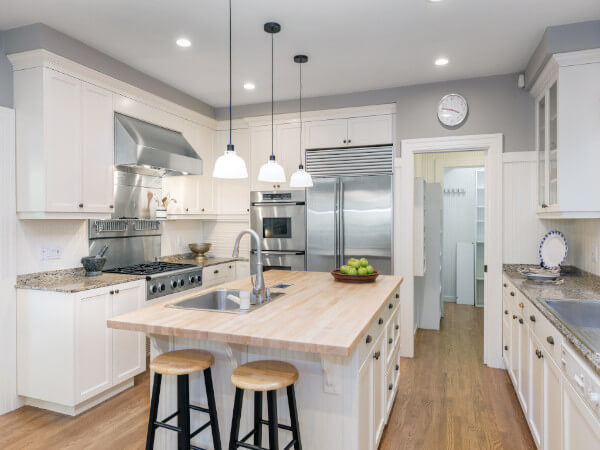
![13 Top Manufacturers of Luxury Vinyl [LV] Flooring](https://www.thelavkitchen.com/wp-content/uploads/2021/12/Glossy-Floors-That-Could-Be-Slippery.jpg "13 Top Manufacturers of Luxury Vinyl [LV] Flooring")
When it comes time to replace your current floor, you have many flooring options out there to choose from. One option that is quickly gaining popularity is vinyl plank flooring. Luxury vinyl plank flooring gives you a look and feel of hardwood but without all the hassle that goes along with it.
This makes luxury vinyl plank flooring one very popular choice when you’re making the final decision on your next flooring project. Today, we are going to take a closer look at some top manufacturers who produce this type of product so that when the time comes for you to make that final decision, you will know who to go with.
What is Vinyl Flooring?
Vinyl flooring is a synthetic material that looks and feels like real flooring without the cost. Vinyl flooring comes in many forms, including luxury vinyl plank, sheet vinyl, and luxury vinyl tile. They are created by layering a specialized PVC plastic on top of a fiberboard backing to give the product strength.

Image credit: https://www.thespruce.com/
Pros of Vinyl Floors
Stain Resistant
Almost every brand, style, and texture of luxury vinyl plank is stain proof, and those that aren’t are heavily resistant to staining.
DIY Installation
In most cases, vinyl plank flooring is easy to install. Large rectangular planks can usually be laid down in a matter of hours with a very small learning curve.
ffordable Luxury Vinyl Plank Flooring
One of the biggest pros of luxury vinyl plank floors is that they offer an affordable alternative to real hardwood and laminate. The overall price of LVP flooring has come down in recent years for many reasons. There is style and type for every budget. It’s priced between $2 and $7 per square foot, making it cheap compared to hardwood, carpet, and decent tile.
Residential and Commercial Use
Luxury vinyl plank can be used for both residential and commercial applications. They are durable enough to withstand heavy foot traffic in office buildings, educational facilities, retail stores, hotels, airports, or anywhere requiring a high cleanliness level.
Cleaning Vinyl Plank Flooring
Vinyl flooring is easy to maintain. You don’t need anyone to teach you how to clean vinyl floors. A quick mop or vacuum removes most surface dirt. For tougher stains, use a mixture of hot water and vinegar to soak the area for up to 15 minutes before wiping it off with a clean cloth. The flooring can be refinished if too much scuffing occurs over time.
Styles and Finishes
Due to the wide variety of installation methods, vinyl plank flooring comes in a variety of styles and finishes. While less expensive options in other flooring materials mean lower quality, vinyl flooring isn’t the case.
Cons of Vinyl Plank Floor
Volatile Organic Compounds and Off-Gassing
Since the plank flooring is synthetic, it emits a scent that some people can detect as volatile organic compounds or VOCs. These can be hazardous to health, although they typically begin to dissipate within the first 24 hours of installation. It’s good to keep windows open during and after installation, but not directly in front of air conditioners or fans that might trap the odors.
No Added Home Value
Unlike hardwood flooring or wall to wall carpeting, vinyl flooring doesn’t typically add to resale value. However, it offers excellent durability and resilience that increases useful life by decades. This makes it an important consideration if you’re planning to live in your home for many years after installation.
Not Easily Repaired
If you drop a perishable item such as an egg, wine bottle or bread crumbs on your vinyl flooring and try to wipe them up quickly, they may leave a noticeable stain. You can’t simply refinish the flooring with wood floor wax as you would for hardwood floors.
Professional installers can successfully repair vinyl floors, but the damage may already be permanent because, unlike hardwood floors, vinyl floors are not made with real wood.
What to Look for in a Quality Vinyl Plank Floor
Not all luxury vinyl flooring is created equal. Vinyl planks and tiles vary between $1 and $8 per sq ft. Here are some of the factors that explain the variation. You should look for these features when choosing the best vinyl plank flooring.
Rigid Core
Lesser grades of vinyl floors may come with a fragile core made from polystyrene foam, which breaks apart as you walk on it and can damage your subfloor. Luxury vinyl planks should have a rigid core made from PVC. The most common core is wood plastic composite, while the newest type is stone plastic composite.
Thickness
Rigid core vinyl planks average 5mm thick, while vinyl tiles range from 11 to 13 mm. Thicker is better because thicker planks and tiles can withstand more wear and tear before showing signs of damage.
Price and Warranty
Prices can range from $1 to $7 per square foot, depending on the type of material and manufacturer. Luxury vinyl tiles typically cost more than luxury vinyl planks. A good quality product should come with at least 20 years for residential use and 10 years for commercial use.
Vinyl Plank Flooring Brands
1. Mannington
This is one of the oldest major vinyl flooring manufacturers founded in 1915. Mannington offers luxury vinyl in two product lines. These include Mannington luxury sheet vinyl and Adura luxury tile and plank flooring.
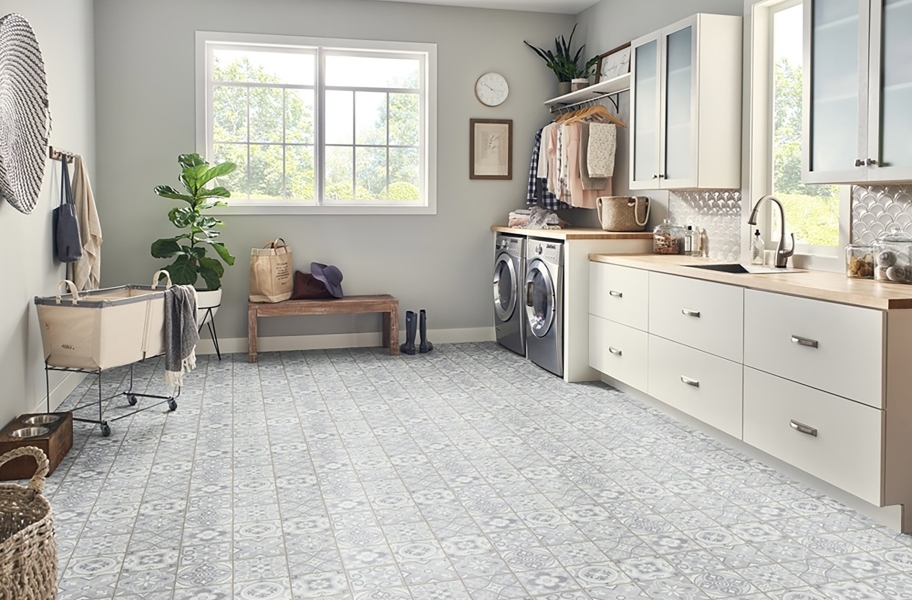
Image credit: https://assets.incstores.com/
Mannington is unique in offering a sheet vinyl product described as luxury vinyl. The luxury vinyl products are either tile or plank products for all other manufacturers. The Adura brand comprises both tile and plank offerings. Most of the tiles mimic natural stone, and the tiles are typically 18×18 inches square or 12×24 inches in size.
Some products are meant for glue-down applications, while others use a click-lock connection. If you’re looking for near authenticity in vinyl wood flooring, go for the plank collection, which features variable widths, realistic colors, and surface textures.
2. Shaw
Shaw is the only other company that offers a product that resembles luxury vinyl flooring. The Shaw Contract Flooring brand offers an array of sheet products and luxurious vinyl planks you can find. While they’re a little more expensive, you’ll get a high quality, the durable plank that exceeds your expectations.
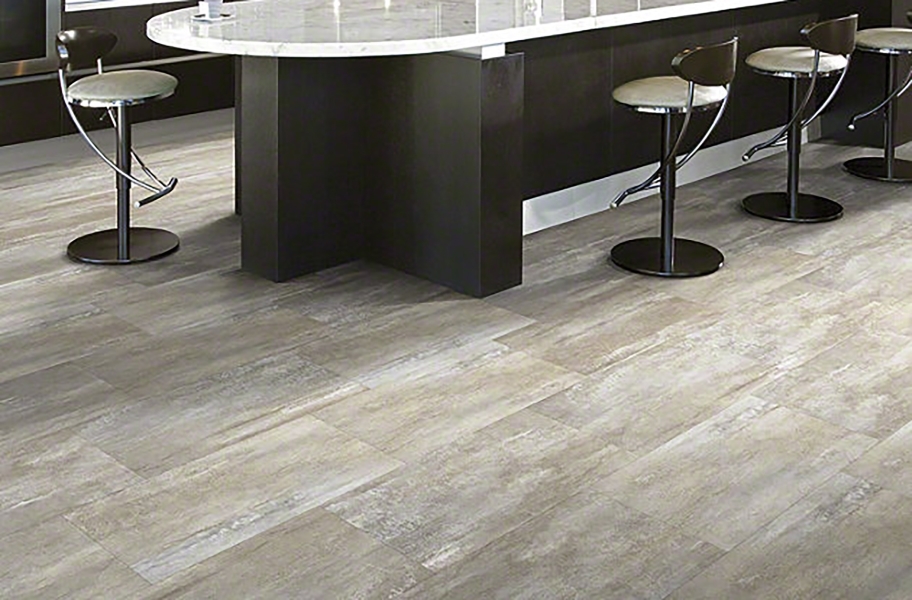
Image credit: https://assets.incstores.com/
Shaw also tends to back its products with generous warranties, demonstrating the company’s faith in what it sells. There are LVP types to choose from Shaw floors. These include the DuraTru collection, the least expensive, and ranging from 5 mil to 7 mil in thickness.
For thicker flooring, choose the Floorte style, which is a mid-range of their collection, offering you a dozen of styles to choose from. Most residential applications come from this collection. For commercial use or higher-end products, choose Floorte pro.
The prices will rise in Floorte pro but with up to 30 mil thickness and a solid plank using SPC. The thicker mil also comes with longer warranties, including commercial use. One advantage of choosing vinyl plank flooring from Shaw is that most of the company’s products are fully waterproof instead of just being water-resistant. Shaw is one of the largest and most famous vinyl plank flooring brands.
3. Armstrong Vinyl Plank Flooring
Armstrong Vinyl Plank Flooring is another manufacturing brand that has been around for decades. Armstrong’s vinyl plank flooring comes in both floating and glue-down installation methods and a variety of styles, including contemporary, traditional, rustic, and classic designs.
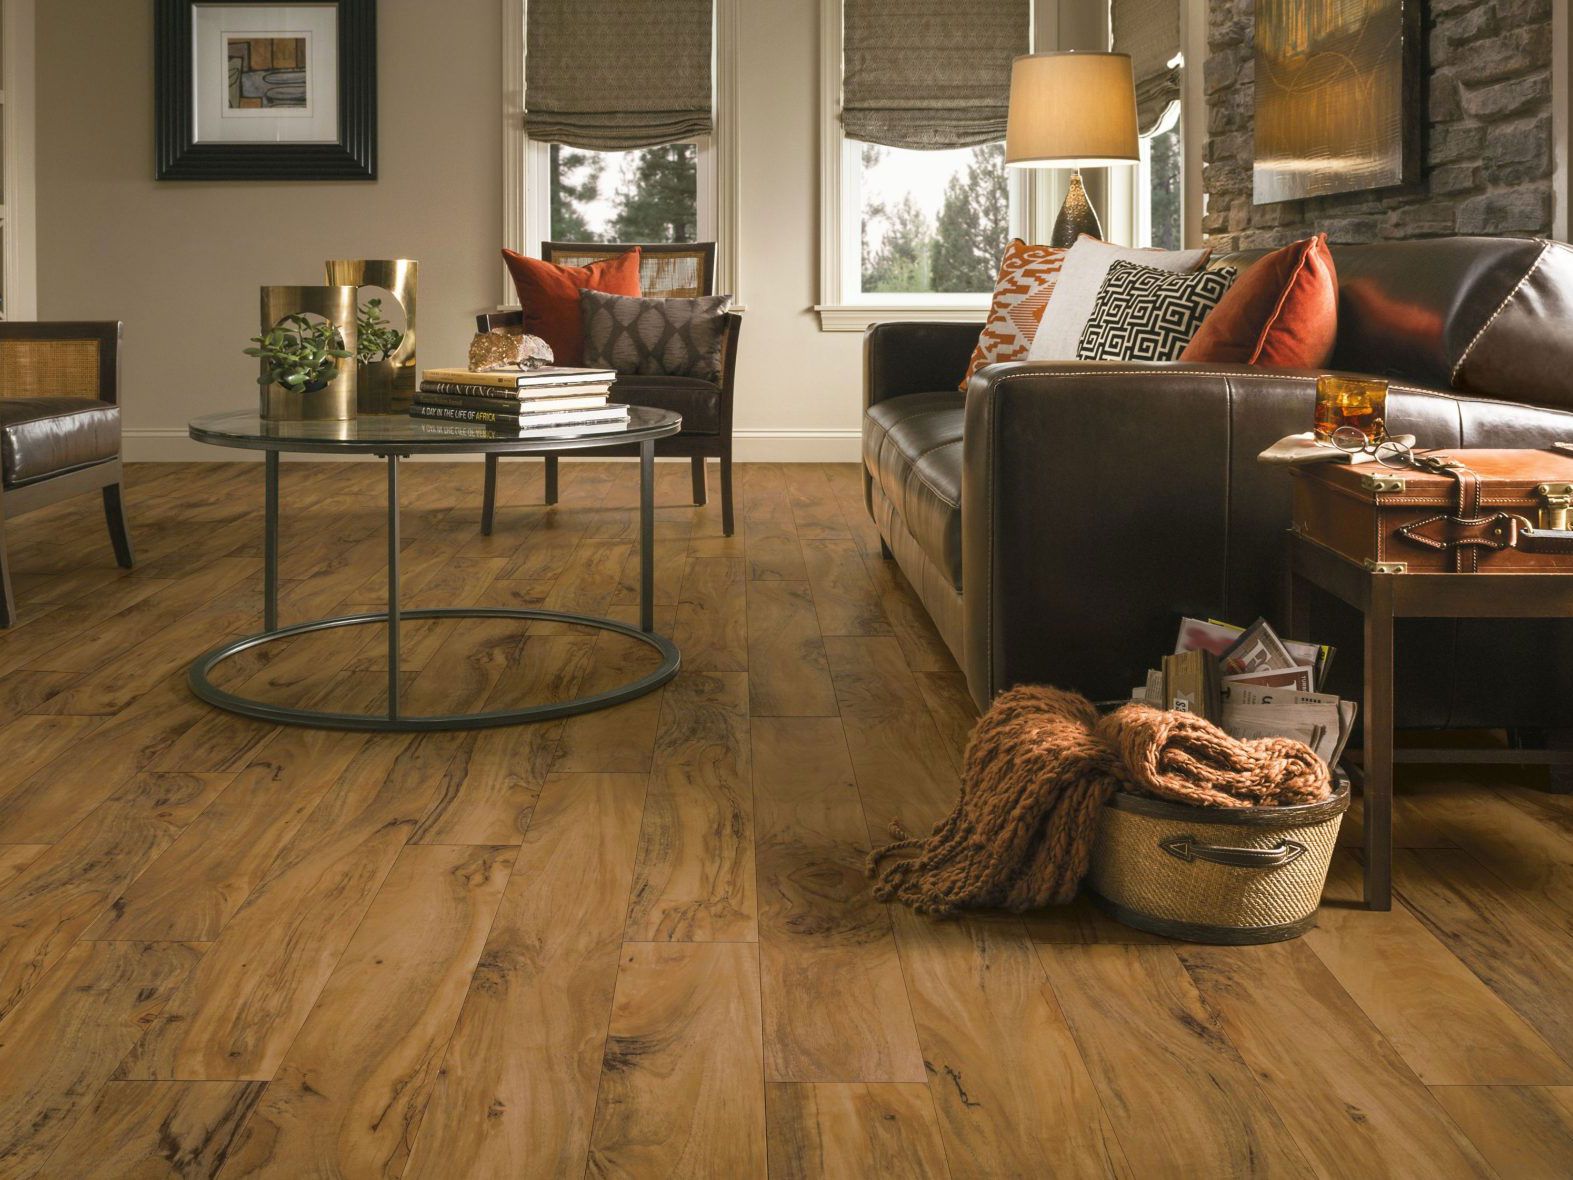
Image credit: https://www.thespruce.com/
Most of Armstrong’s luxury types of vinyl are plank products that mimic wood grains. With the company’s lifetime warranty covering residential use, you can’t go wrong with this brand. The average prices are between $5 and $7 per square foot.
4. Forbo Flooring Systems
Forbo is a Swiss-based company that makes a point of being as environmentally friendly as possible by using green energy, minimizing transport, and cutting down on waste. Their Allura residential line offers a vast array of around 100 different styles to choose from and not fewer than eight installation methods.
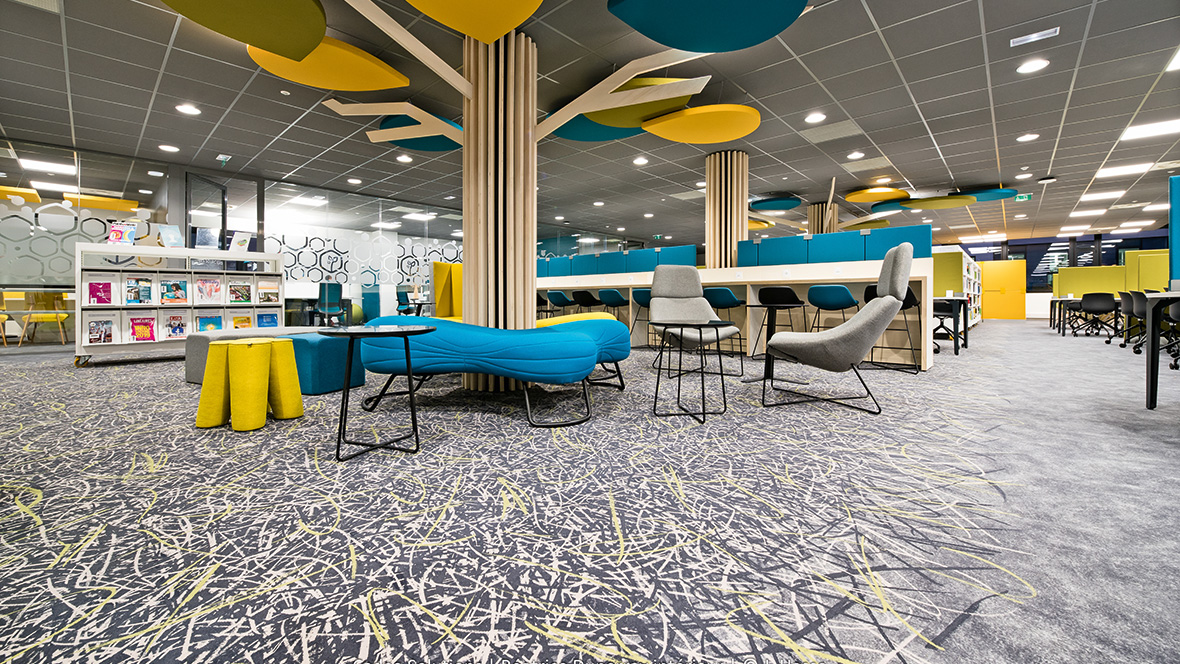
Image credit: https://forbo.azureedge.net/
The company also offers specialist flooring such as acoustic flooring that helps reduce noise, durable, low-maintenance homogeneous flooring, and versatile and varied heterogeneous options, opening up plenty of creative possibilities.
This is a great option to consider, especially if you’re interested in installing ecological, high-quality flooring in residential or commercial settings.
5. Mohawk Flooring
Mohawk Flooring is a renowned name in the flooring industry. They offer a huge variety of stylish and versatile options that are easy to install and affordable, with customers hailing from nearly every walk of life.
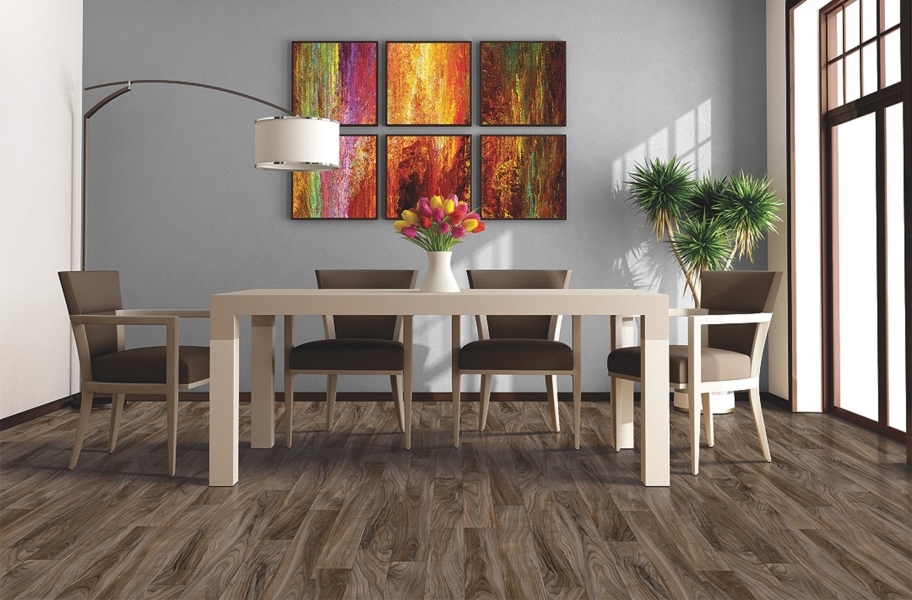
Image credit: https://assets.incstores.com/
Mohawk offers luxury vinyl flooring and laminate, resilient sheet, and hardwood. Mohawk has been around for over 100 years, and they are the largest flooring manufacturer in the entire nation, processing 100 million square feet of products per month.
Mohawk floors are easy to clean and care for, making them a popular option for people with young children and pets in their homes. Some Mohawk products also include a special pet-friendly warranty, so if it gets damaged by your furry companions, you’ll be covered, contrary to Mohawk’s competitors.
On the downside, Mowhak comes with a shorter warranty than other brands, so if you’re looking for a long warranty brand, then this isn’t the right option. With their plenty of experience, Mohawk is a reputable company that comes at the most reasonable price possible.
6. NuCore Flooring
The luxury vinyl flooring from this brand is highly durable and resilient to every foot traffic and resists scuffs. The planks are not only durable, but they’re also waterproof, making it the only brand offering 100% waterproof across the entire line.
All their models are wood grain finishes to emulate a real hardwood floor. The brand also features an innovative design with a cork underlayment that is hypoallergenic. This underlay also provides a softer floor when walking, absorbs more sound, and is warm for colder climates.
The interlocking floating design with this cork underlay allows you to lay more flooring without the need for transition molding. You’ll also get a lifetime warranty on residential installs with this brand. Maintenance is also simple, with regular sweeping and mopping.
Made to withstand pets, children, and high traffic areas, NuCore is the perfect choice if you’re looking for the look and performance of your floors.
7. Karndean
This is a relative newcomer in the world of luxury vinyl flooring, originating as a small business in 1973. Although it’s a small manufacturer, Karndean specializes in nothing but luxury vinyl flooring and is highly regarded in the industry. It offers wood-inspired plank styles and stone inspired styles, making it one of the most diverse companies despite its small size.
Its unique flooring products mimic other materials such as metals, fabrics, cork, and bamboo. It comes with a pro-rated lifetime warranty. However, some models require professional installation for the full warranty to take effect. So, make sure you read all of the fine print before purchasing.
8. COREtec Plus
COREtec Plus is another manufacturer that only manufactures luxury vinyl flooring. It prides itself on using eco-friendly materials without sacrificing performance and design. Featuring an innovative core construction, COREtec Plus’ products are water resistant and offer more than 10 times the hardness of other brands for easier maintenance. Like Karndean, it’s recommended to have your COREtec installed professionally.
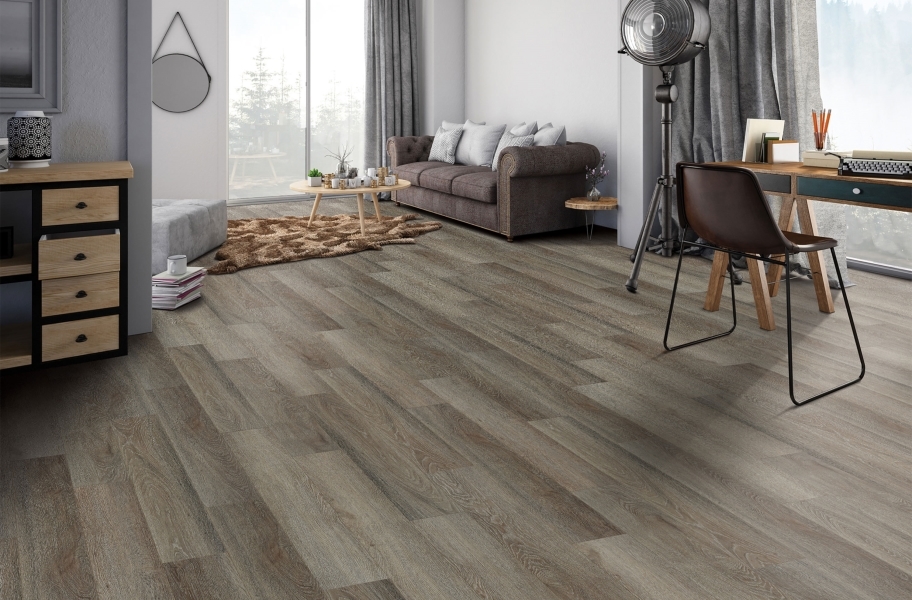
Image credit: https://assets.incstores.com/
It offers White Glove services, including installers, for an additional charge. Using this service will also give you a full warranty on installations, and you can use the floors as soon as the job is complete. The major lines of COREtec include original, pro, stone, wood, and one plus. Each of these lines has its models of LVP.
9. Proximity Mills
Proximity mills have manufactured high-end luxury vinyl flooring in the U.S. for over 30 years. The company’s London Towne Collection is finished in an old English style and is one of the most elegant products on the market today (and it doesn’t look like vinyl). It comes in 12 patterns, six colors, and four textures, which are part of the FSC certification. The company also manufactures two luxury vinyl planks under the brand name Aireloom and has a new line of luxury vinyl tile called Proximity Tile Collection.
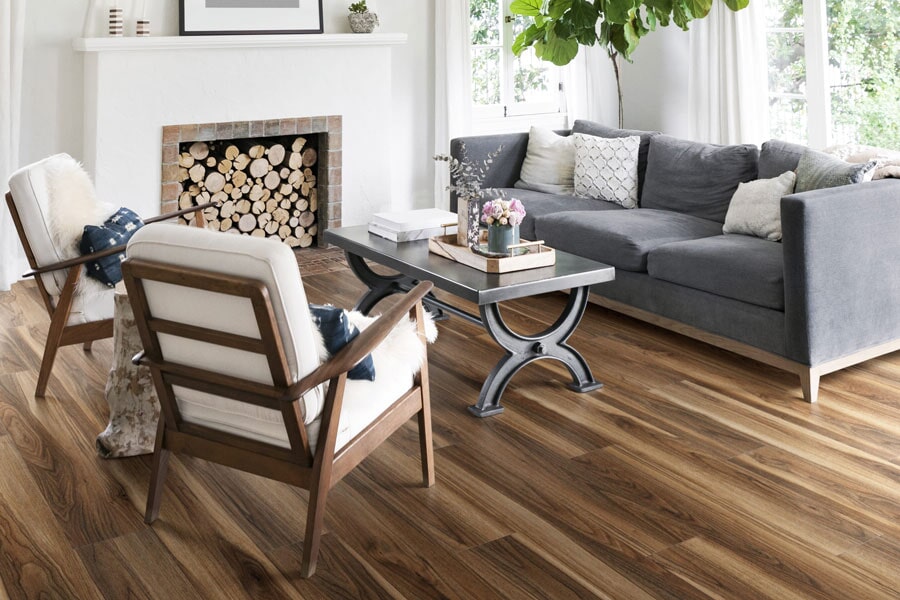
Image credit: https://media-us.camilyo.software/
Proximity Mills floors boast advanced toughness and durability, and all flooring from the company comes with a lifetime warranty for residential use. However, its commercial warranty are not as good as those offered by other companies.
Proximity mills also pride themselves on exceptional customer satisfaction. And on the downside, they don’t allow anybody to sell their products, making it a little difficult to get hold of proximity mills flooring.
10. Cali
Cali flooring is a good choice if you’re concerned about investing in green products. It’s manufactured using 100% renewable energy, and the material used to make this vinyl tile comes from post-consumer and post-industrial waste, reclaimed wood and scrap tires.
The company was born of an idea that came to the founders after a surfing trip in Hawaii, and their original products were engineered bamboo flooring. Among the lines produced by Cali is Mute step flooring, which incorporates a cork underlay to help reduce noise while increasing comfort.
The next is Vinyl Pro Classic, designed for ease of installation, vinyl plus, including cork underlay and Longboards which are vinyl planks sold in a larger format.
11. Flooret
If you want to keep things simple but have a luxury vinyl tile, as a result, look no further than Flooret. This company offers luxury vinyl tiles by the square foot with either a wood or stone pattern on top. The product is meant to be kept in place without adhesives and floated over existing flooring, including wood, concrete and ceramic tile.
It has a single line of vinyl flooring, divided into the base and the signature versions. The difference is the wear layer, with base offering 20 mils and signature providing a whopping 40 mil, making it indestructible.
These types are UV protected and feature ceramic bead technology to enhance toughness and durability. All Flooret products include a lifetime warranty. It also offers affordable pricing, thanks to its simplicity and the direct to customer business.
12. Lifeproof Vinyl Flooring
Nail-down and glue-down installations are available. It comes in various widths and designs, including wood plank effect vinyl flooring, authentic-looking tile styles and luxury vinyl planks that look like stone. The classic square printed pattern is also for those who want something plain and simple.
Lifeproof flooring also boasts a 20 mil wear layer and a waterproof rigid core, contributing to its durability. If you’re looking for flooring that won’t break the bank, then this is the right choice.
13. Raskin
This is a company specializing in attractive modern flooring solutions that are also quick and easy to install. Both loose lay and glue down options are available. The company offers several flooring options, including premium waterproof, commercial and loose lay.
All these are characterized by high levels of quality and attractive artistic designs. If you’re looking for a well-known flooring option that can make a real impact, then this is the real choice.
FAQs on Top Manufacturers of Luxury Vinyl Flooring
What thickness of vinyl plank flooring is best?
The thicker the plank, the sturdier it is. So the rule of thumb is to use 4mm to 6mm thickness in heavily used areas of the house and 4mm and below for areas like the bedroom.
Final Thought on Top Manufacturers of Luxury Vinyl Flooring
As you can see, vinyl flooring is easy and simple to install. And the best vinyl plank flooring will give you years of trouble-free use, easy to maintain, and suits the style and decor of your home.
The post 13 Top Manufacturers of Luxury Vinyl [LV] Flooring appeared first on Kitchen Infinity.